How to Use Appointment Schedule in Google Calendar

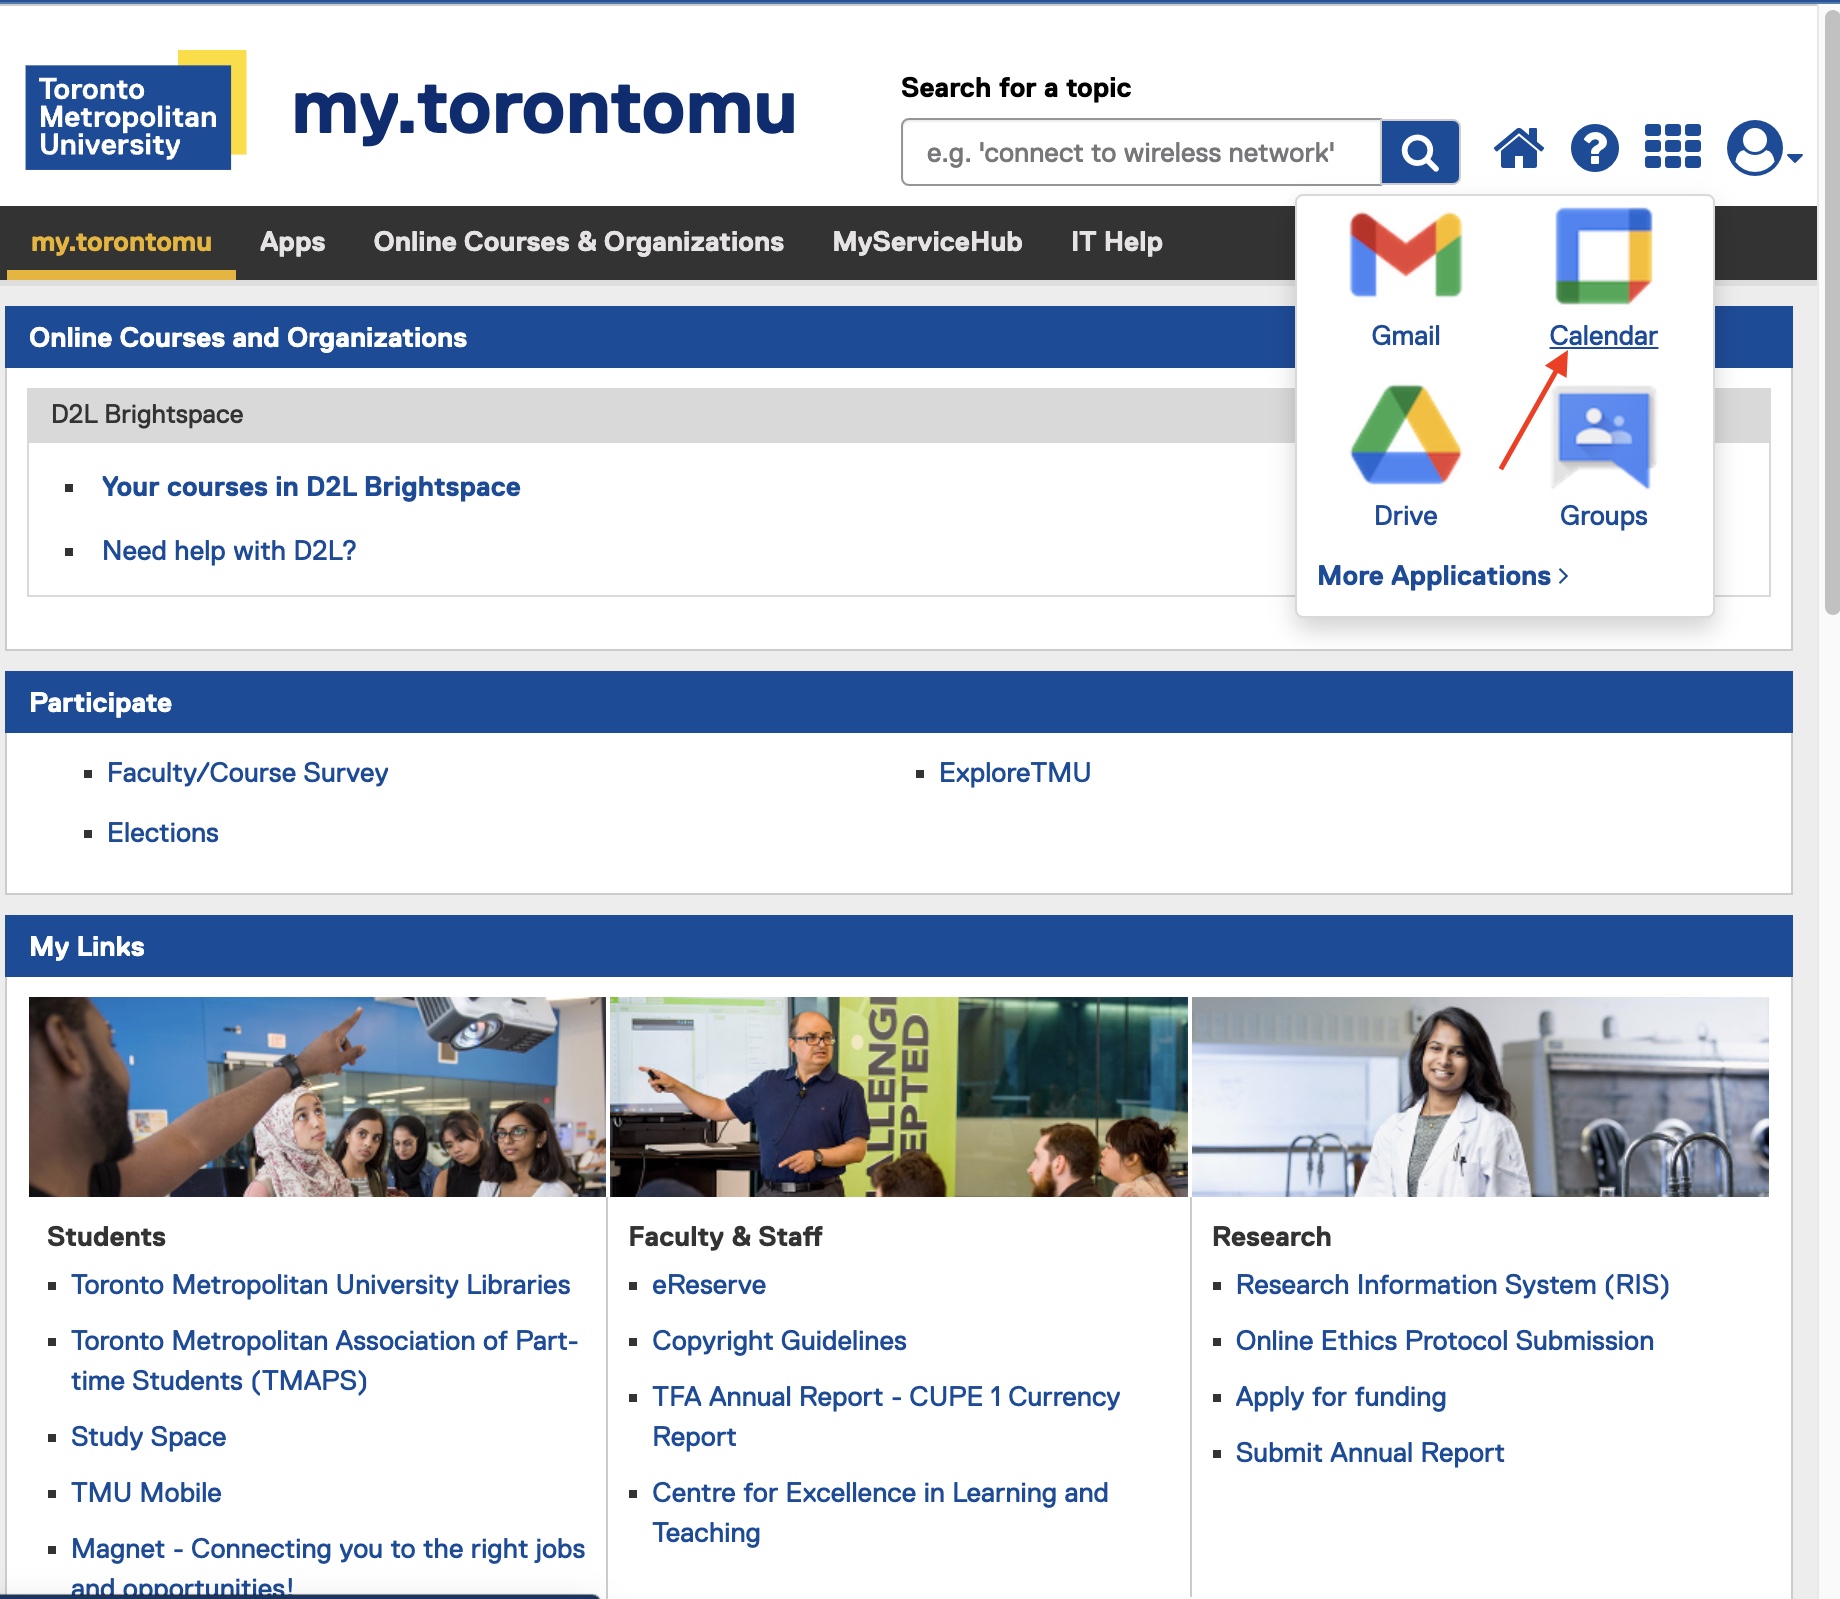
1. Log into my.torontomu (your TMU Portal) and go to the Apps tab.
Note: Appointment schedule do not work on your private/personal Google Calendar, they only work on the TMU Google Workspace version.
2. Click on Calendar from the Google Workspace menu.
3. Navigate to the week when you want to start your office hour.
4. Click and drag to create a regular appointment spanning the total length of that particular office hour session. An input box appears as shown in the Figure 1. Note that in this example we’re setting up a block of office hours lasting four hours.
5. Click on Appointment schedule in the input box and you will see a screen shown on the image right.

Note: If you do not see Appointment schedule as a choice, but see Appointment slots, you will need to turn on Appointment schedule in your Google Calendar settings. Information on how to turn on Appointment schedule can be found Appointment Schedule news article (opens in new window) .
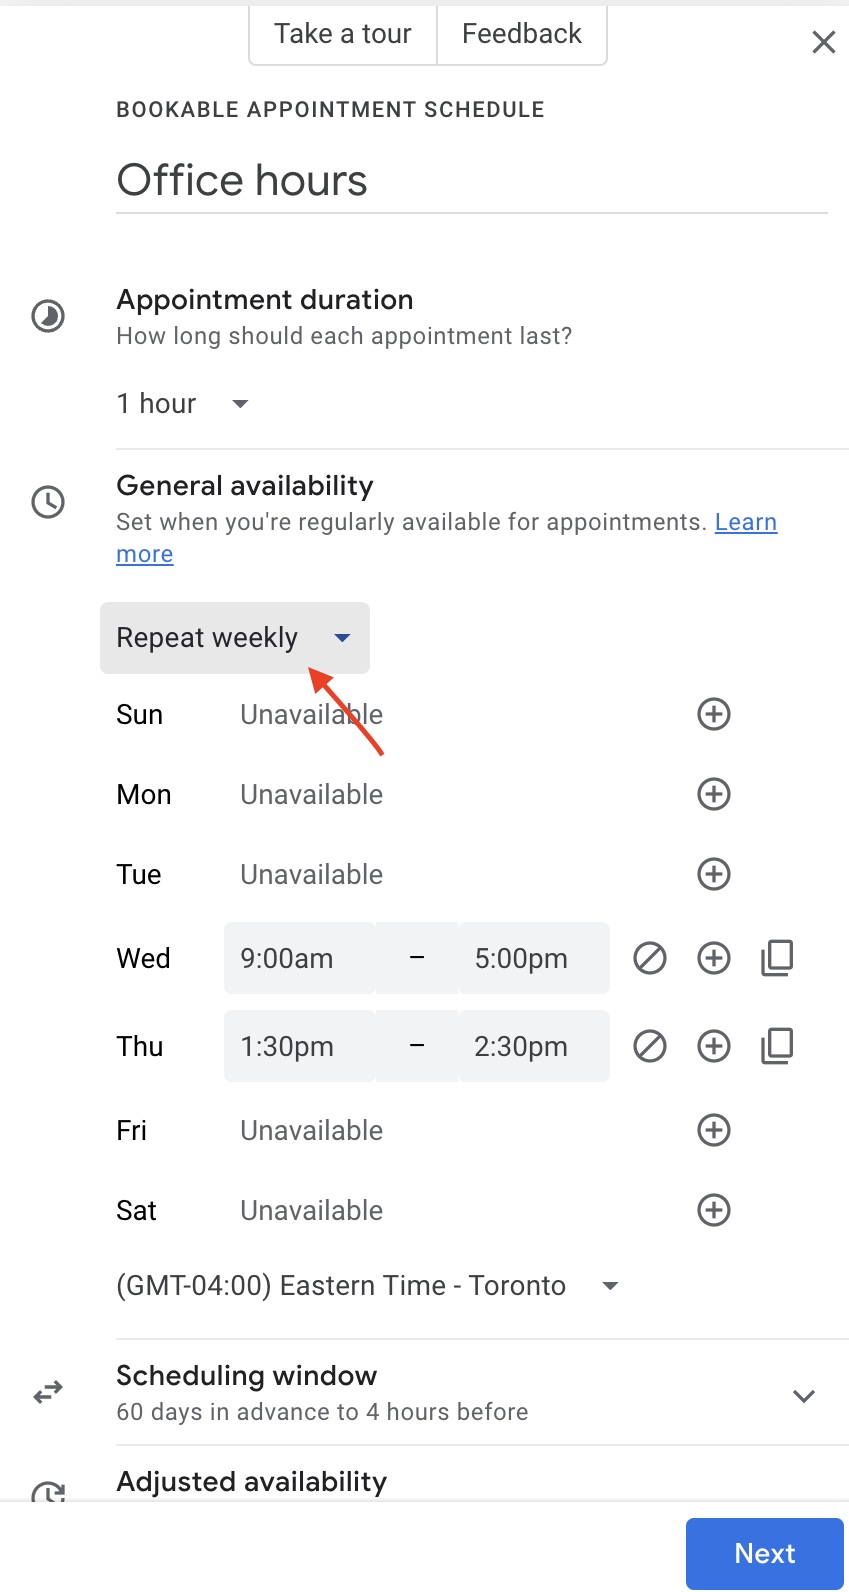
6. Add a title, e.g. “Office Hours” as shown in Figure 2, and select "Create a new appoitment schedule" radio button and select Continue to proceed.

7. You will now see a sidebar open on the calendar page, here you can start inputting details regarding your appointments.
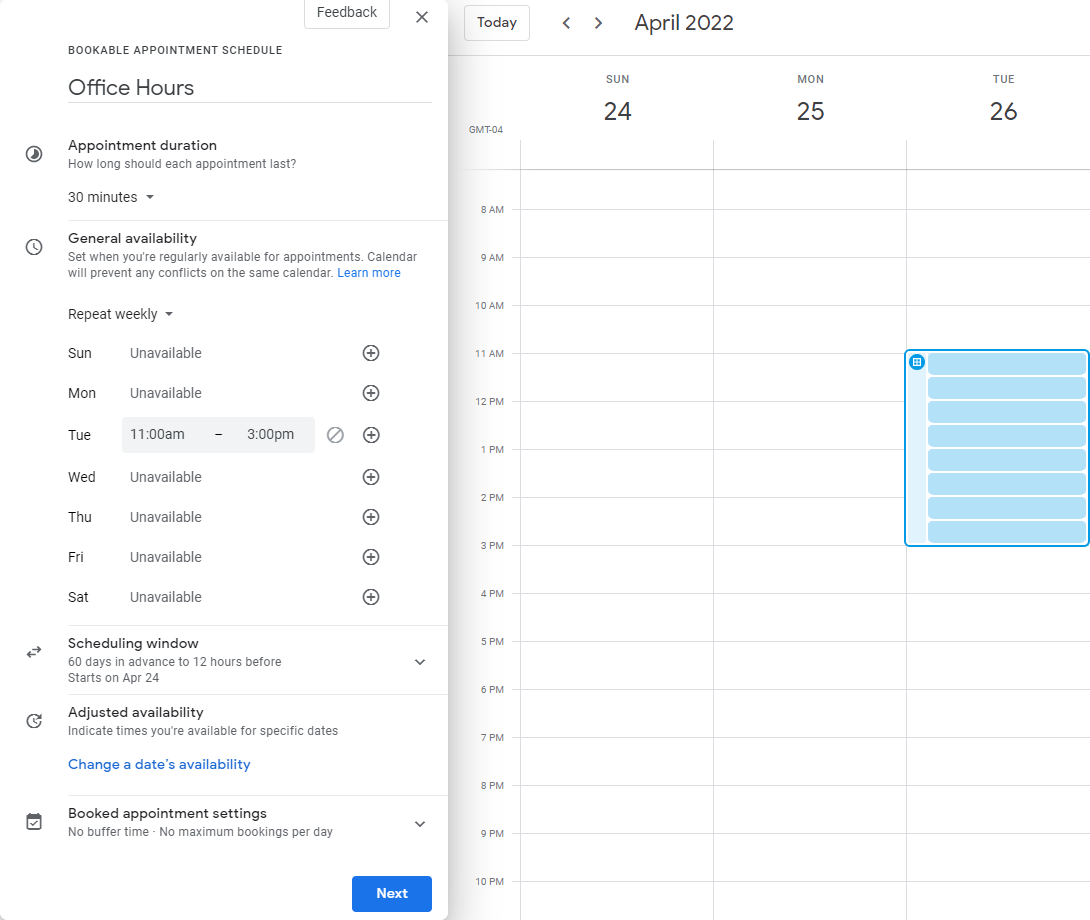
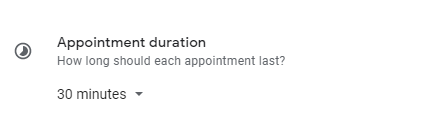
8. Here you can select the length of each appointment. By default, it will start with 30-minute slot, but this can be changed to any length of time of your choosing.
Note: If you want to make the appointment block repeat, do so before you invite others to reserve a slot. When you make an existing appointment block with reserved slots repeat, the reserved slots get duplicated as new slots and double booking can occur.
9. In the "Custom" menu, define how often you want the slots to repeat:
- Frequency: Choose "Weekly" or "Monthly" depending on your preference.
- Day of week (for Weekly): Select the specific days you want the slots to appear (e.g., Tuesdays, Thursdays).
- Week of month (for Monthly): Choose the specific week(s) within the month (e.g., First week, Second week of every month).
10. You can select down arrow next to "Scheduling window" to see full options for scheduling window. The image on right, you see the default values that you can change per your requirements.
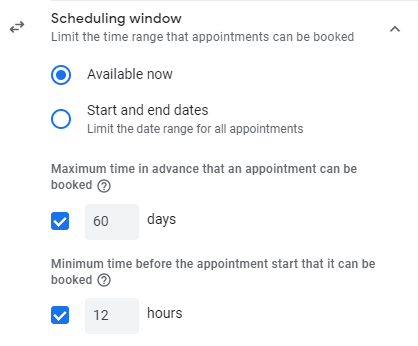
11. Set how far in advance or last-minute people can book appointments with you. This helps you manage your schedule buffer.
Under Availability and booking, you'll find options to:
- Set the Minimum booking lead time (how far in advance) and Maximum booking lead time (last-minute limit) for appointments.
- Define the "Maximum appointments per day" to limit how many bookings you will accept for the day. Once the number specified here is reached in booking page, all other available bookable slots for the day will be disappear.
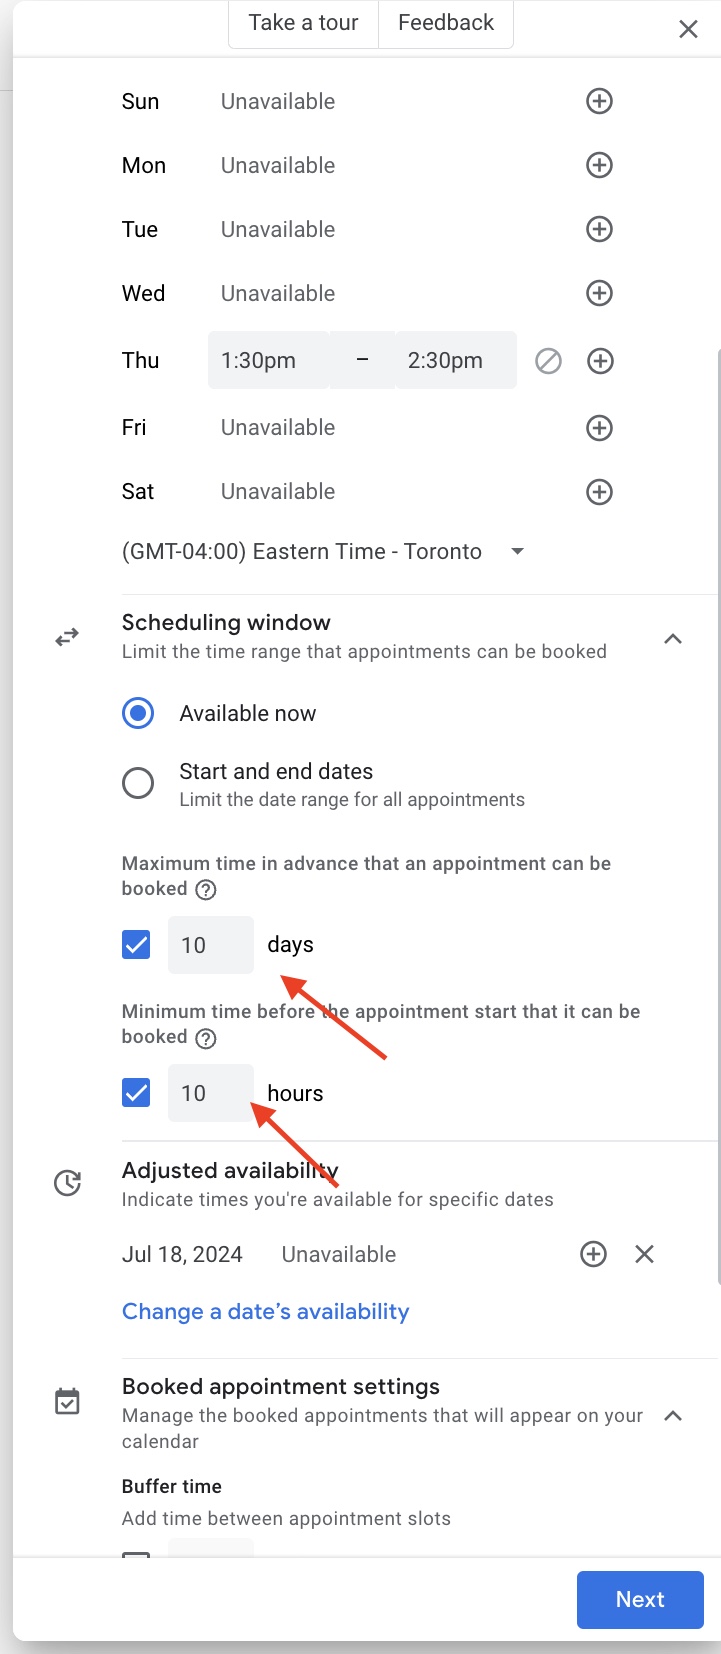
12. You can update your availability here. If for some reason you are unavailable on a repeating schedule, you can select the days you are unavailable.
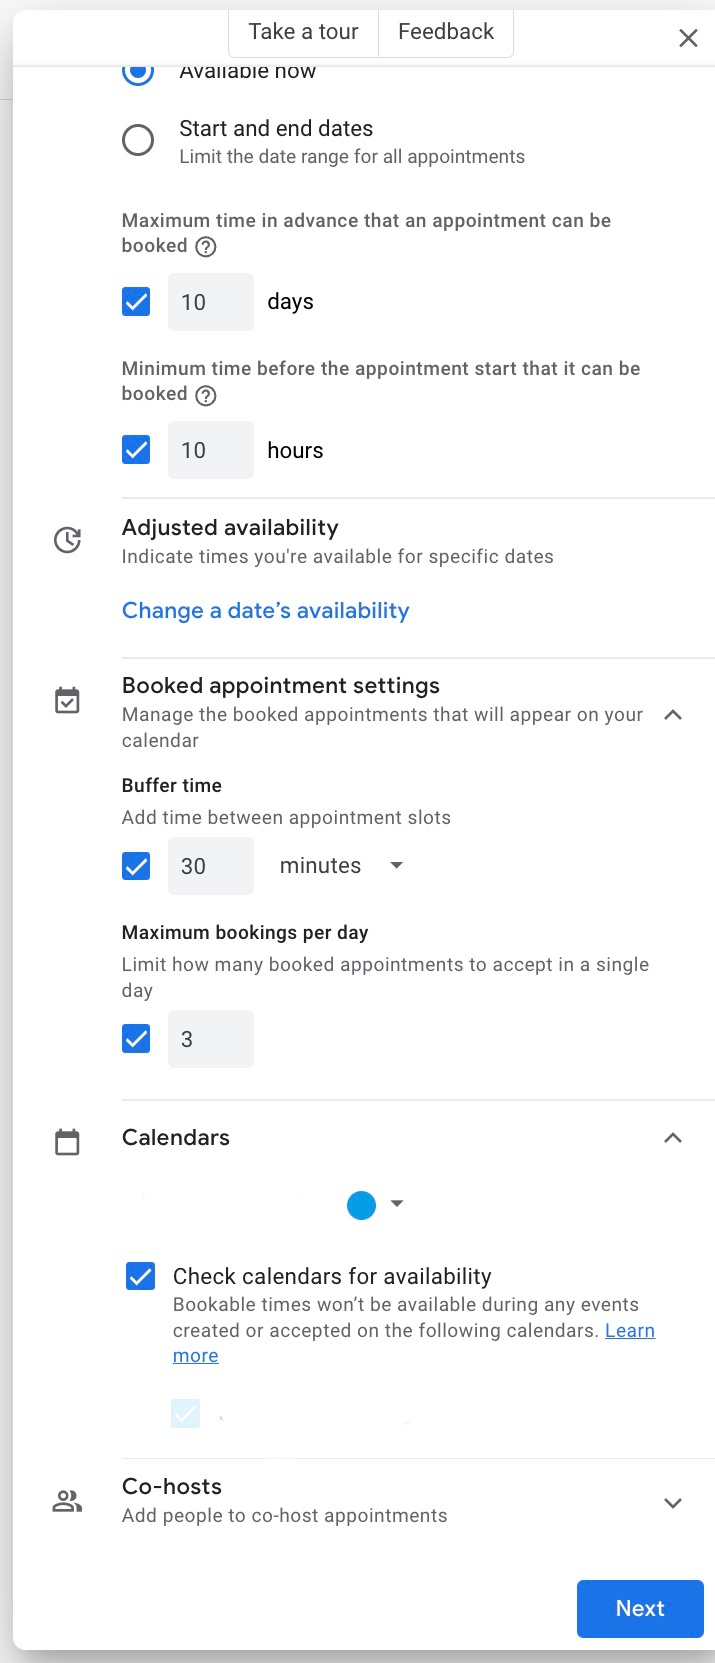
13. You can update booked appointment settings here. You can add buffer time between appointment slots and a maximum number of bookings to be allowed per day.
14. You can select the option to check for calendar availability under Calendars, this will hide the times that you are already booked during any events created or accepted on the following calendar.
15. You can also add people as co-hosts, select the arrow beside Co-hosts followed by Add people, this will allow you to search and add people as co-hosts when creating an appointment.
16. After adding details on this page, you can select the Next button to proceed to the second page of appointment details.
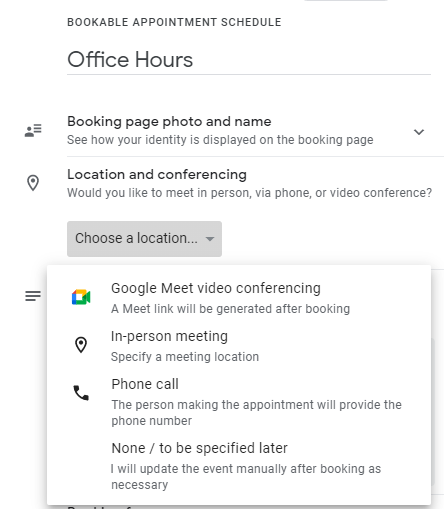
17. In second page, you can take a look at Booking page photo and name. This option will always grab your account photo and name.
18. You can also select location and conferencing options. Here you can select from Google Meet video conferencing, in-person meetings, phone calls or none.
Note: The Google Meet option will create a separate and distinct meeting ID for every appointment slot.
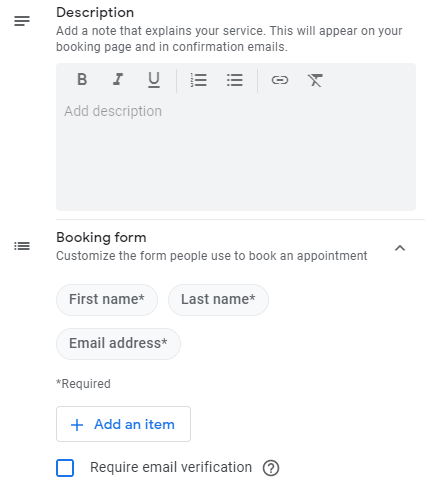
19. You can enter the description of the appointments.
20. Next section you can customize the booking form each individual needs to fill out. Three form questions (First name, Last name, and Email address) are mandatory and you can add any additional questions that can be mandatory or optional by clicking Add an item.
Note: Require email verification is in place to prevent malicious booking, where it will require an emailed verification code to be entered by the individual booking the appointment.
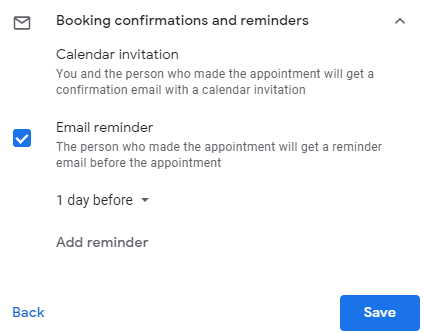
21. Last section allow you to set up a reminder for those who have booked an appointment. You can customize when the reminder is sent and add multiple reminders.
22. After last details have been updated, you can select Save button.
23. After you have completed setting up the appointments, you can share the booking page to your students or colleagues. You can select the copy image (arrow) to copy the link and sent to your students or colleagues via email or post it on your D2L course or organization shell.
24. You can open the booking page by clicking on Open booking page button.

25. The booking page will be shown on the right.
26. A student or a staff would select any of the open slots to book an appointment.

27. A student or a staff will fill out required information to book an appointment and select Book to finalize booking.

28. A student or a staff will receive a confirmation page and will receive an email to confirm the booking as well as link to add to their Google Calendar.

29. When a student books an appointment slot, you will receive an email message showing you the request and giving you the choice to accept or decline the appointment. If you accept it, the appointment will show up in your Google Calendar and Calendar of person who has booked the slot.
