Nvivo Documentation

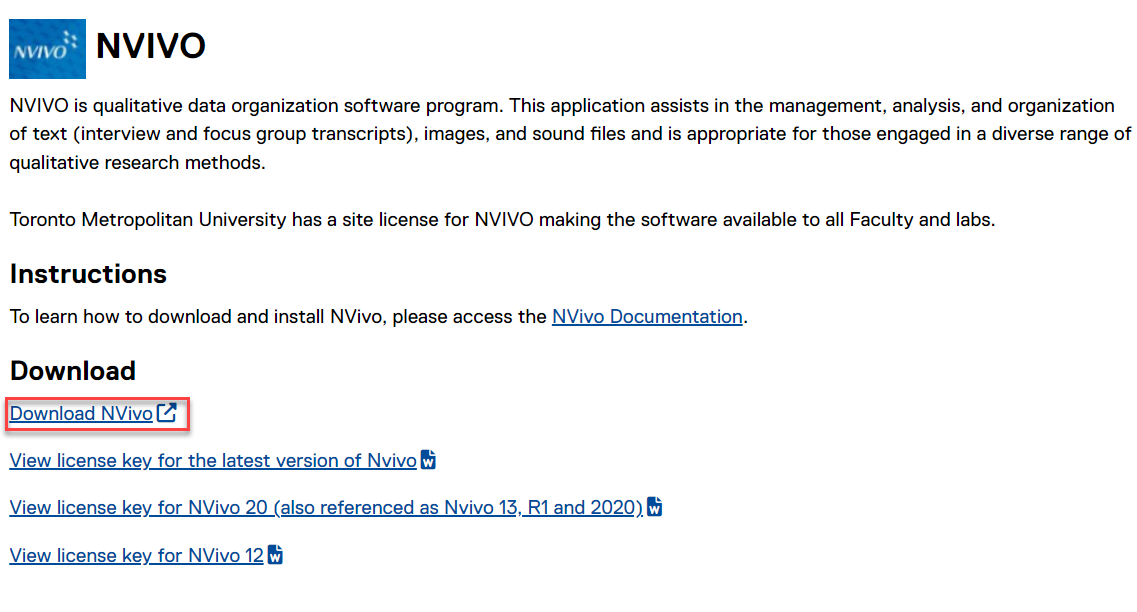
1. Visit https://www.torontomu.ca/ccs/services/software/statisticalapps/ to access NVivo. Under the Faculty/Staff tab, select the link that says Download NVivo.
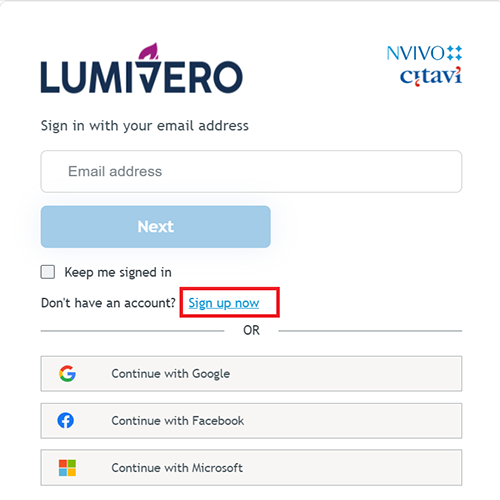
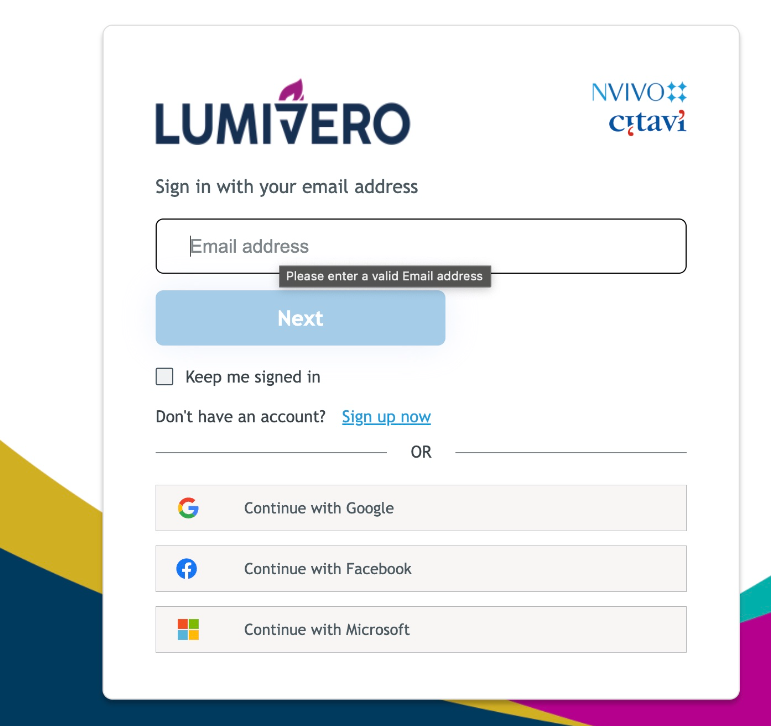
2. On the website, sign in with your registered Nivo account. If you do not have an Nvivo acount, select Sign up now.
Note: If you aready have an Nvivo account, skip to step #6.
3. Fill in the first name, last name and email address fields. Use your TMU email address and select Send Verification Code. Fill in the remaining fields and check the I Agree box for the privacy policy and terms and conditions. Then select Sign Up to proceed.
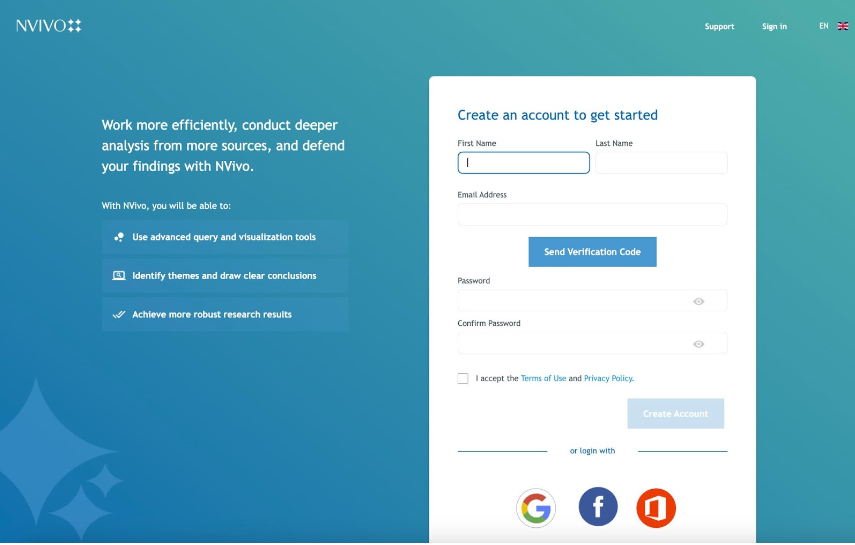
4. Verify your email address. Access your torontomu.ca mailbox and find the verification link to complete the setup. Select Create Account.
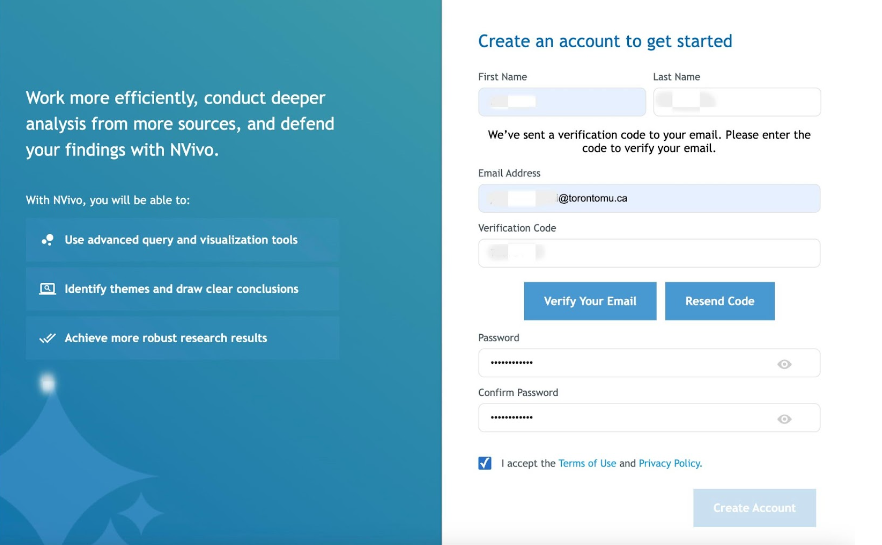
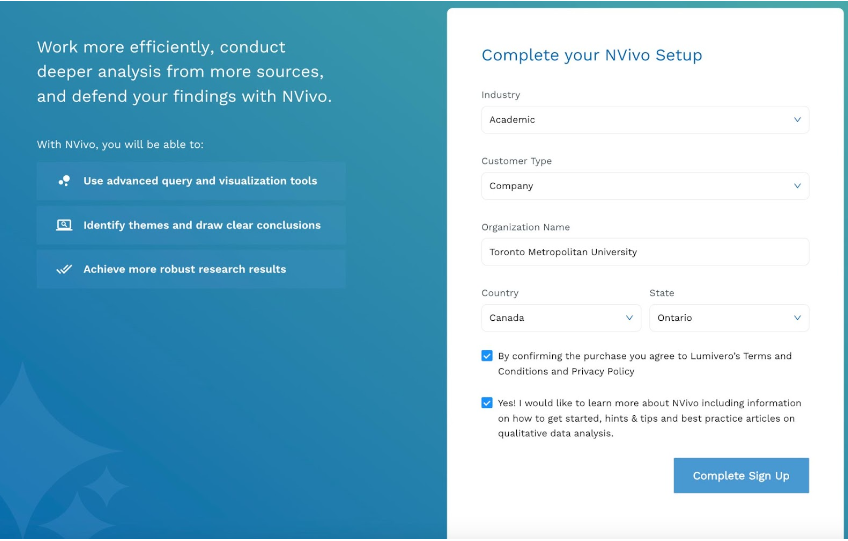
5. Fill in the remaining form and select Complete Sign Up.
6. Sign in with your Nvivo account and select Next.
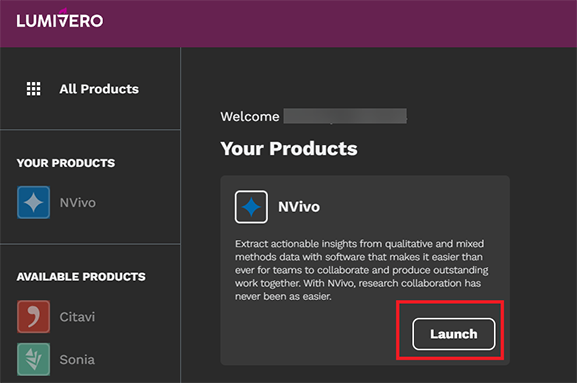
7. Select Nvivo on the left panel and then Launch.
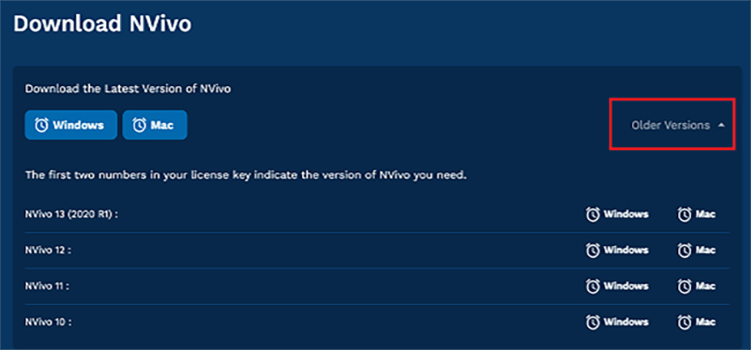
8a. Depending on the operating system you may have, select Download Nvivo for Windows or Other versions

8b. Choose your operating system to download or a previous version of Nvivo.
Note: instructions may vary with older versions of Nvivo.
9. To start the installation, open the downloaded file. Select the language you want and select OK.

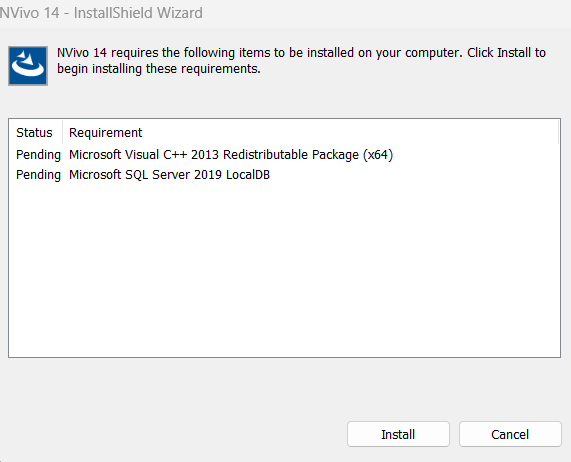
10. Select Install.
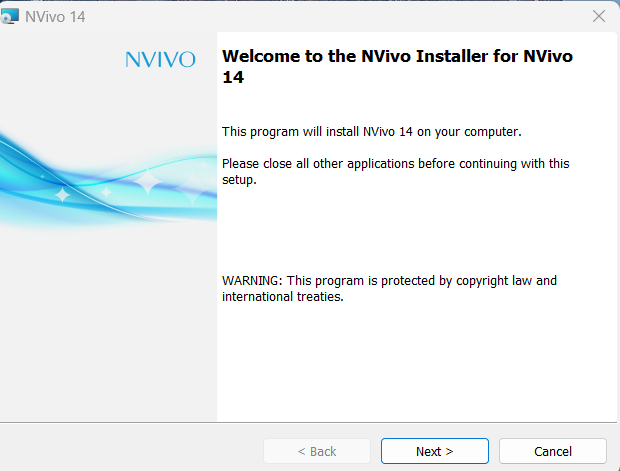
11. Select Next.
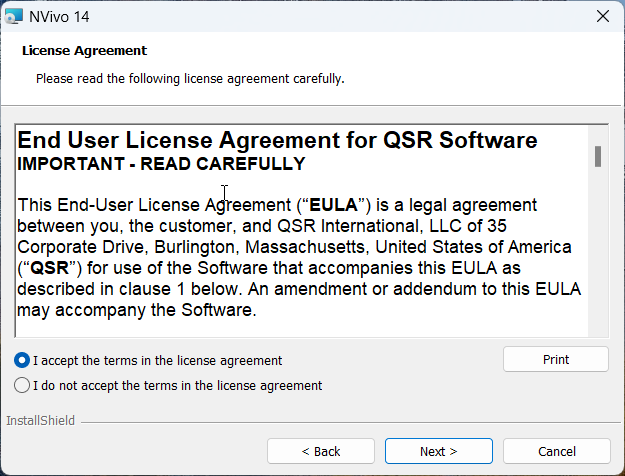
12. At the license agreeement screen, select Next.
13. Select the destination folder and optional desktop shortcut and select Next.

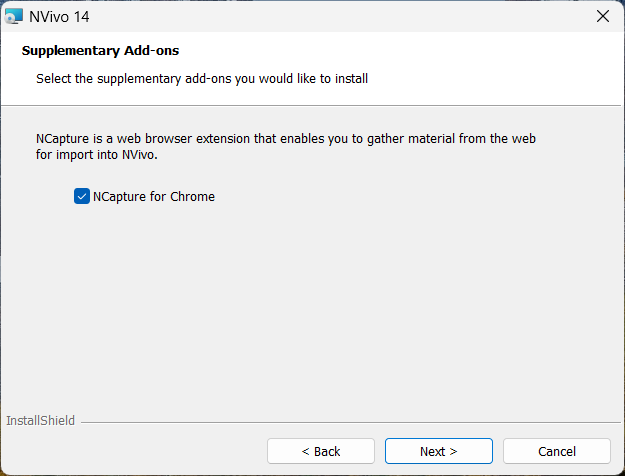
14. Select the optional NCapture for Chrome select Next.
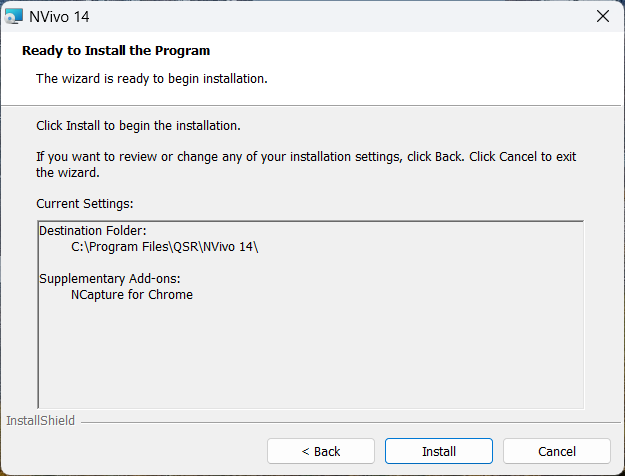
15. Select Install.
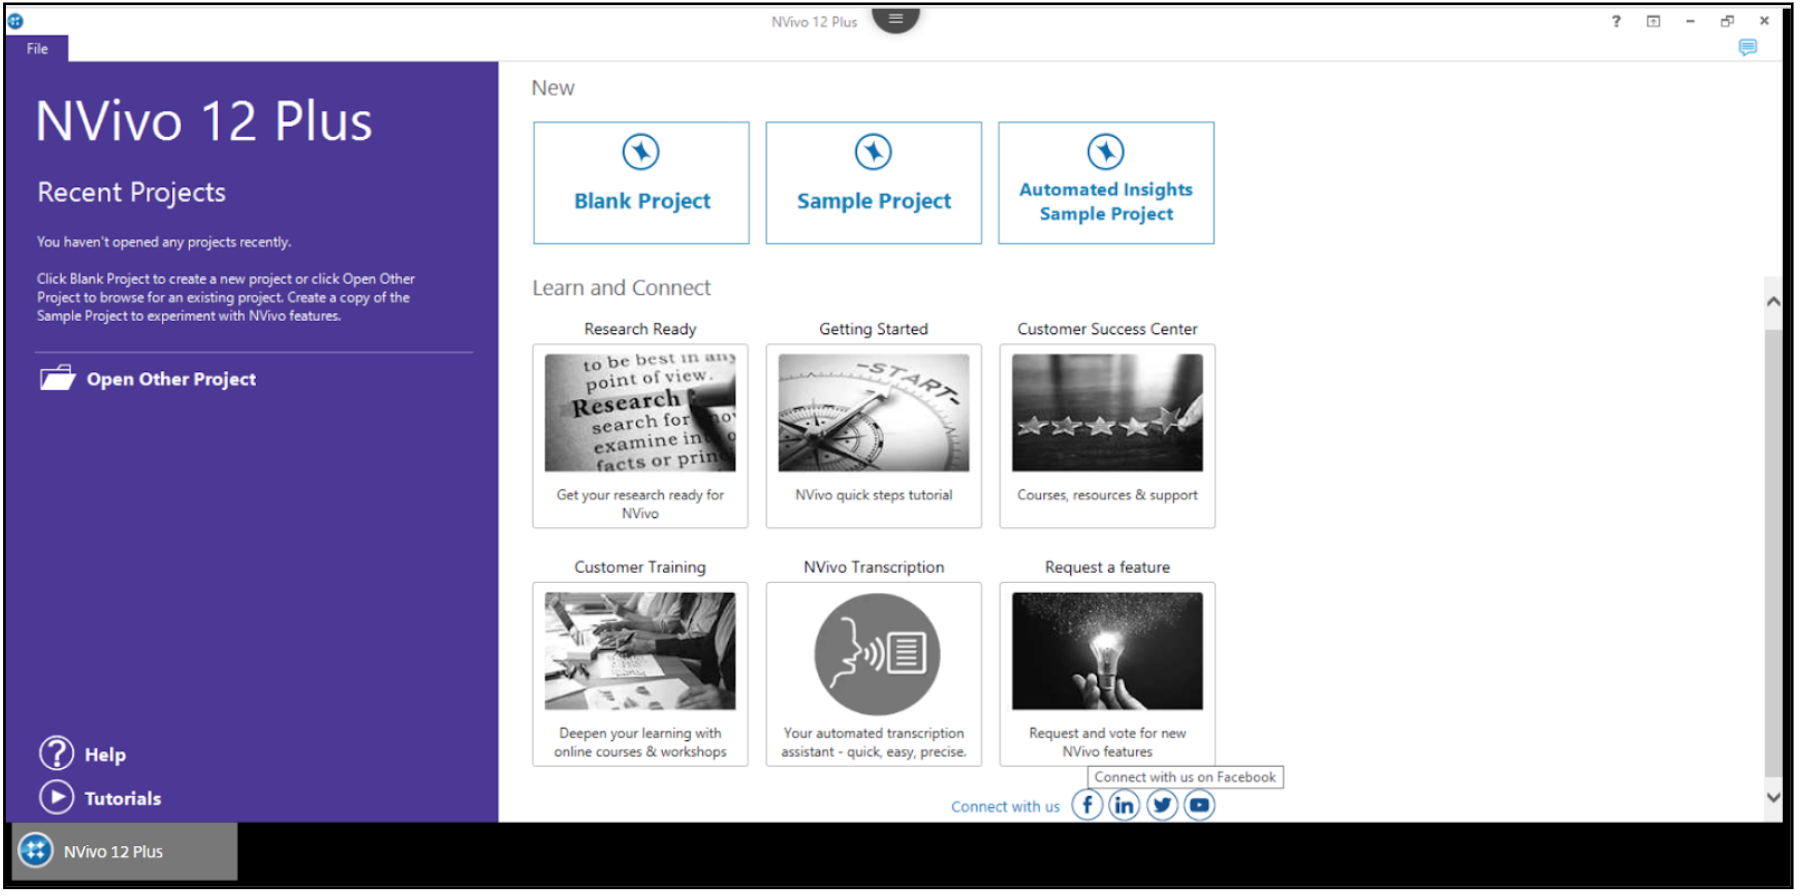
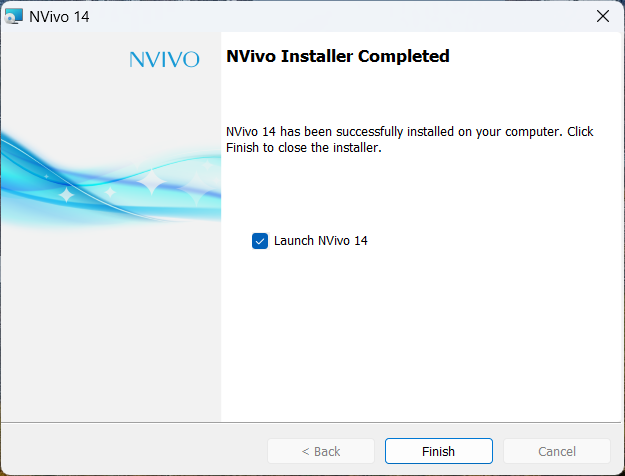
16. Check Launch Nvivo 14 and then select Finish.
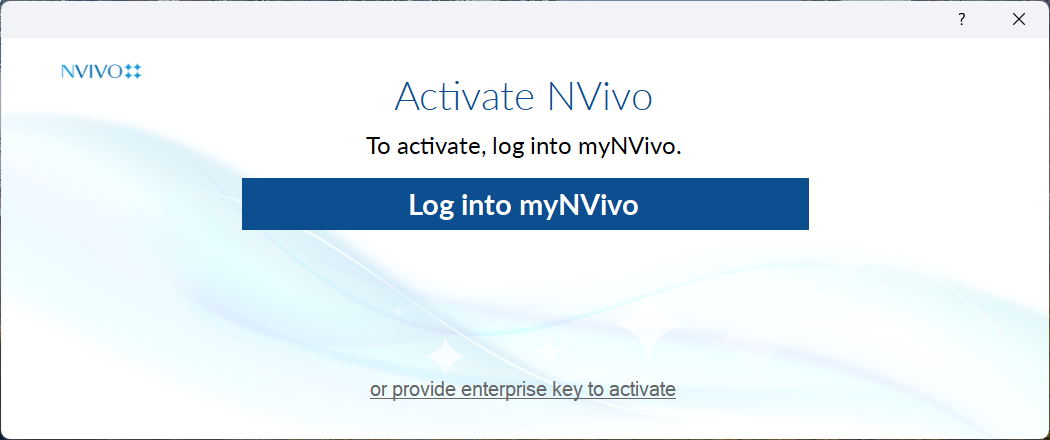
17. A web browser will open. Select on Log into myNvivo.
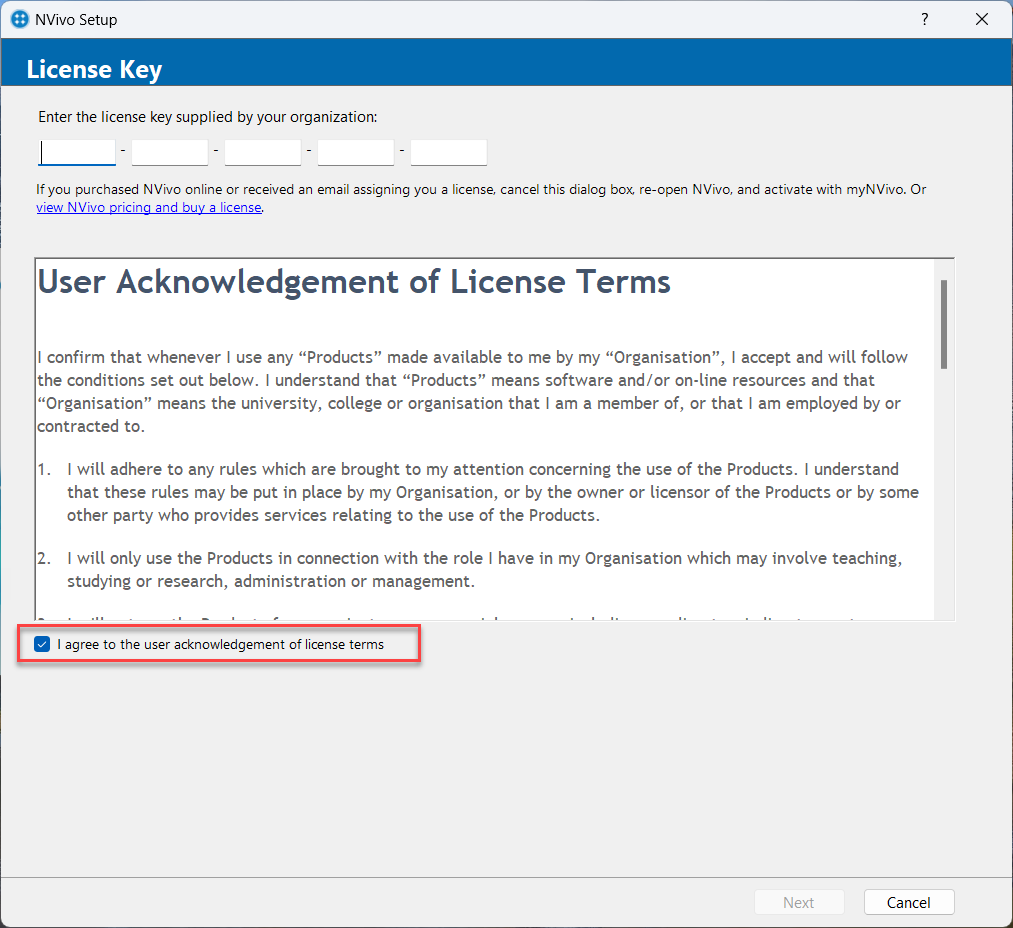
18. Enter the license key and select the box if you agree to the license terms.
NOTE: You have to download the key from the CCS Software page for Nvivo. Please note that only faculty can access NVivo.
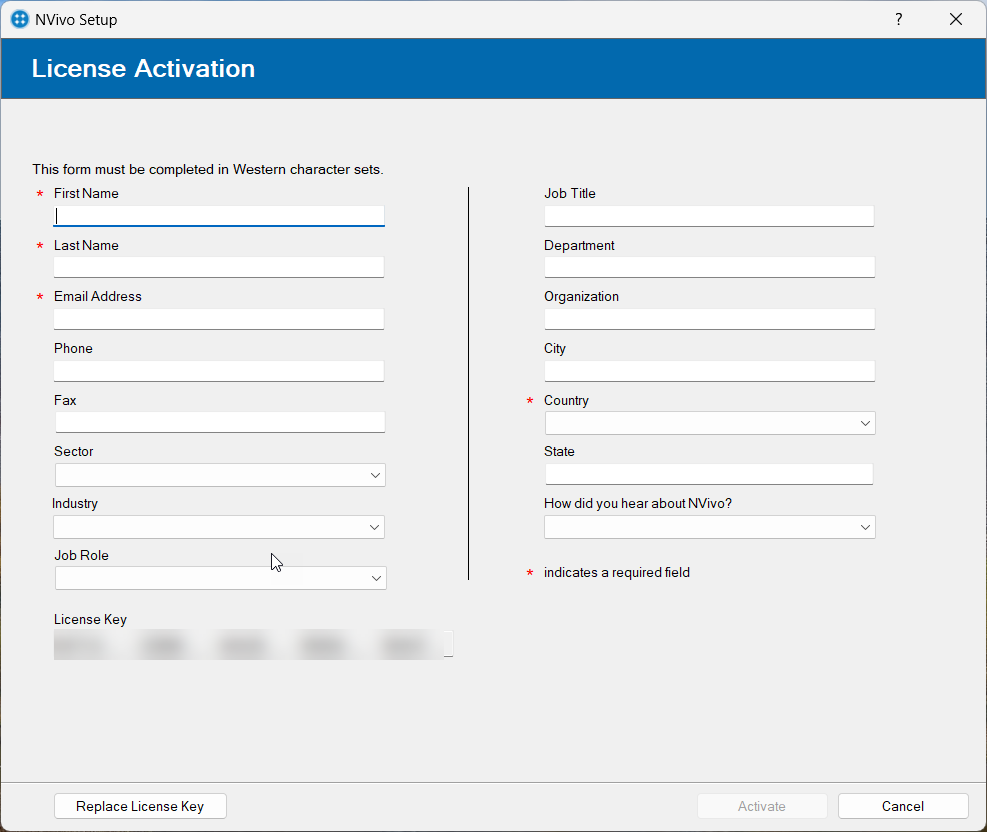
19. Fill in all the required fields to activate the license and select Activate to initiate the NVivo license.
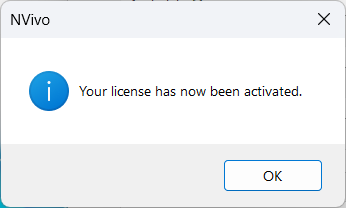
20. Select OK.
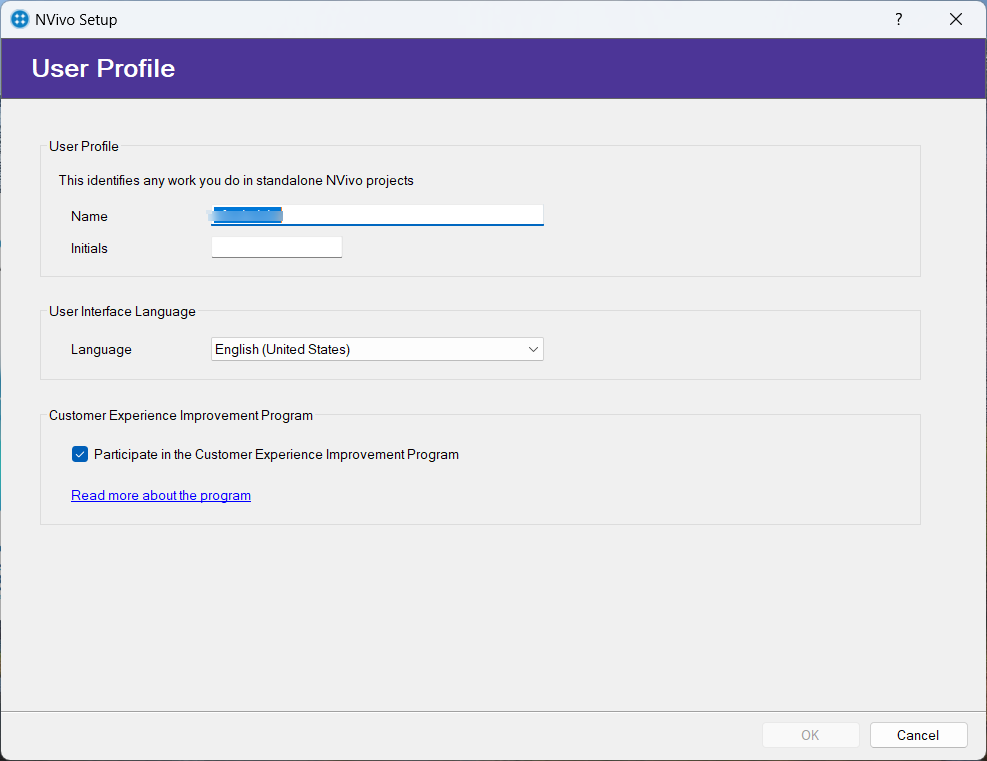
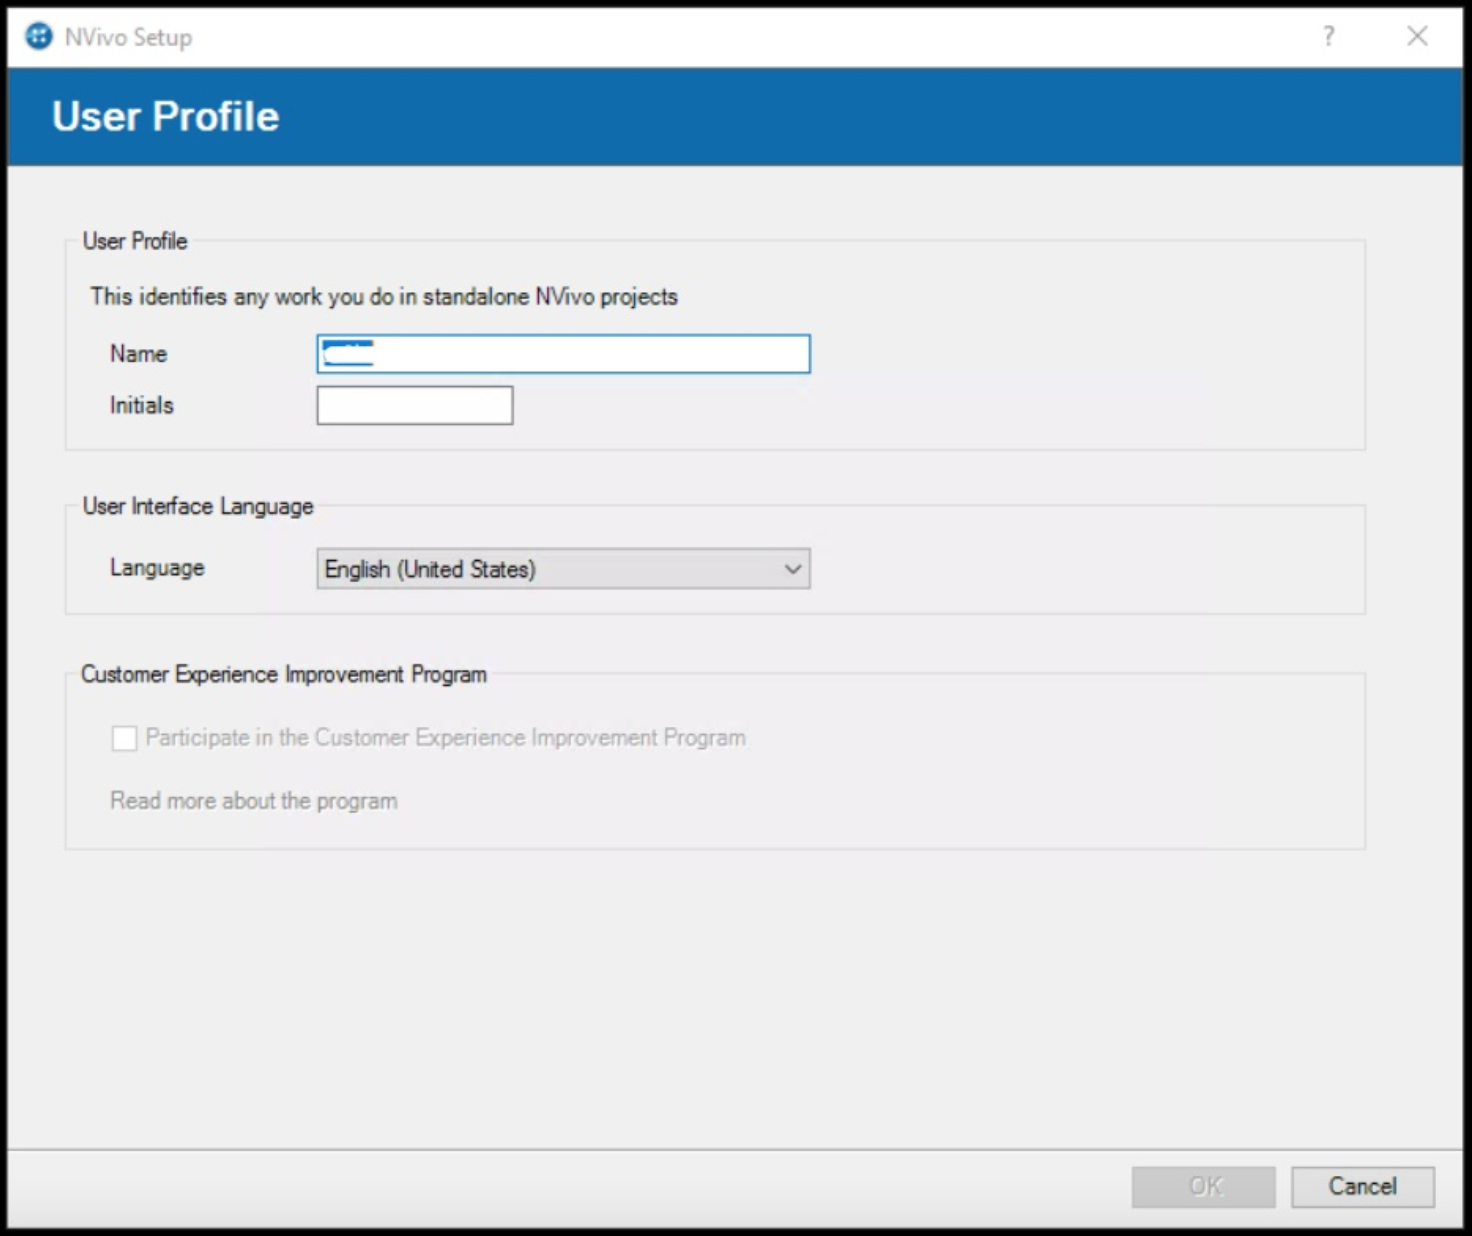
21. Fill in the Nivo profile screen and select OK.
22. You may need to log in once more. Nvivo 14 is now fully installed on your device. You can now begin making use of all its functionalities.
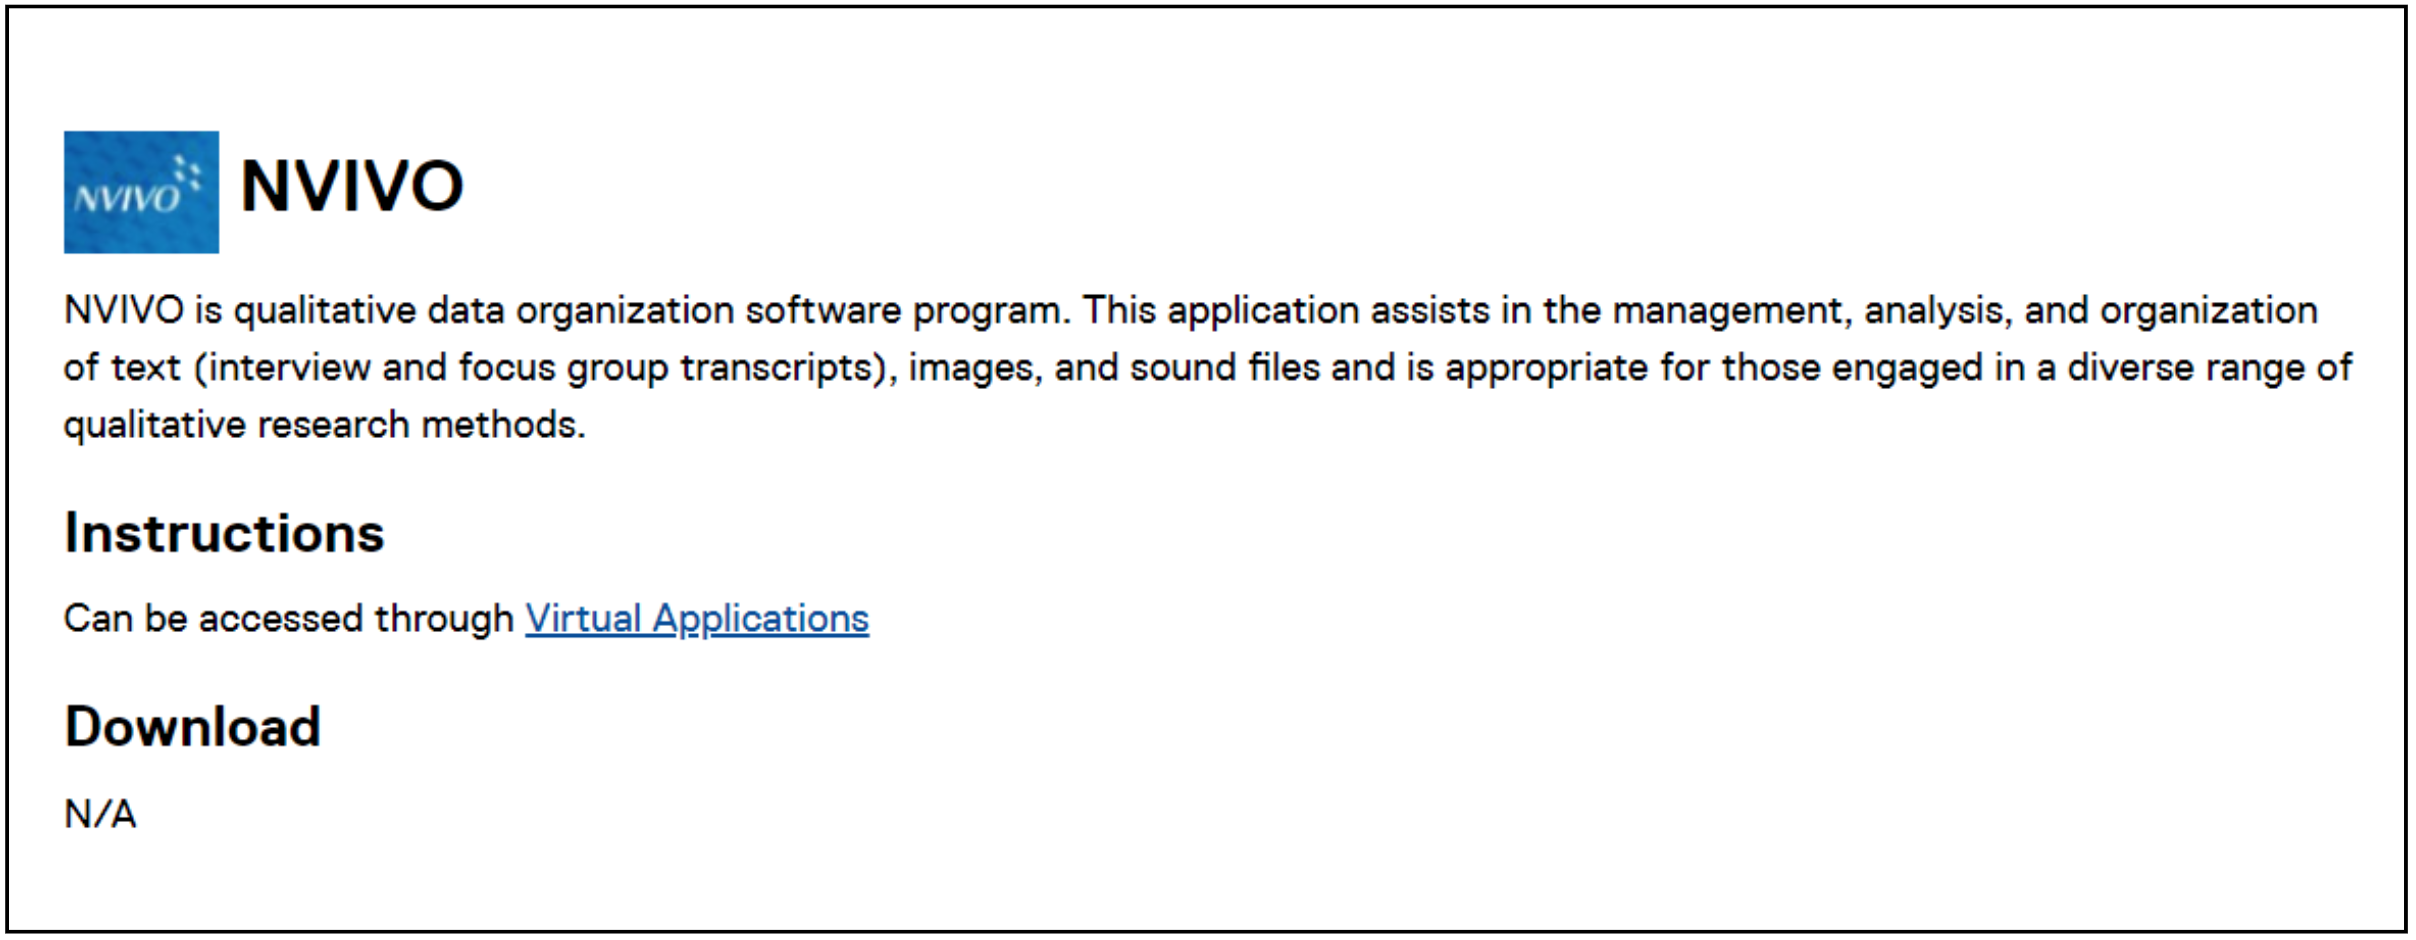
1. Go to: https://www.torontomu.ca/ccs/services/software/statisticalapps/ to access NVivo. Under the Students tab, scroll down to access the Virtual Applications link for NVivo.
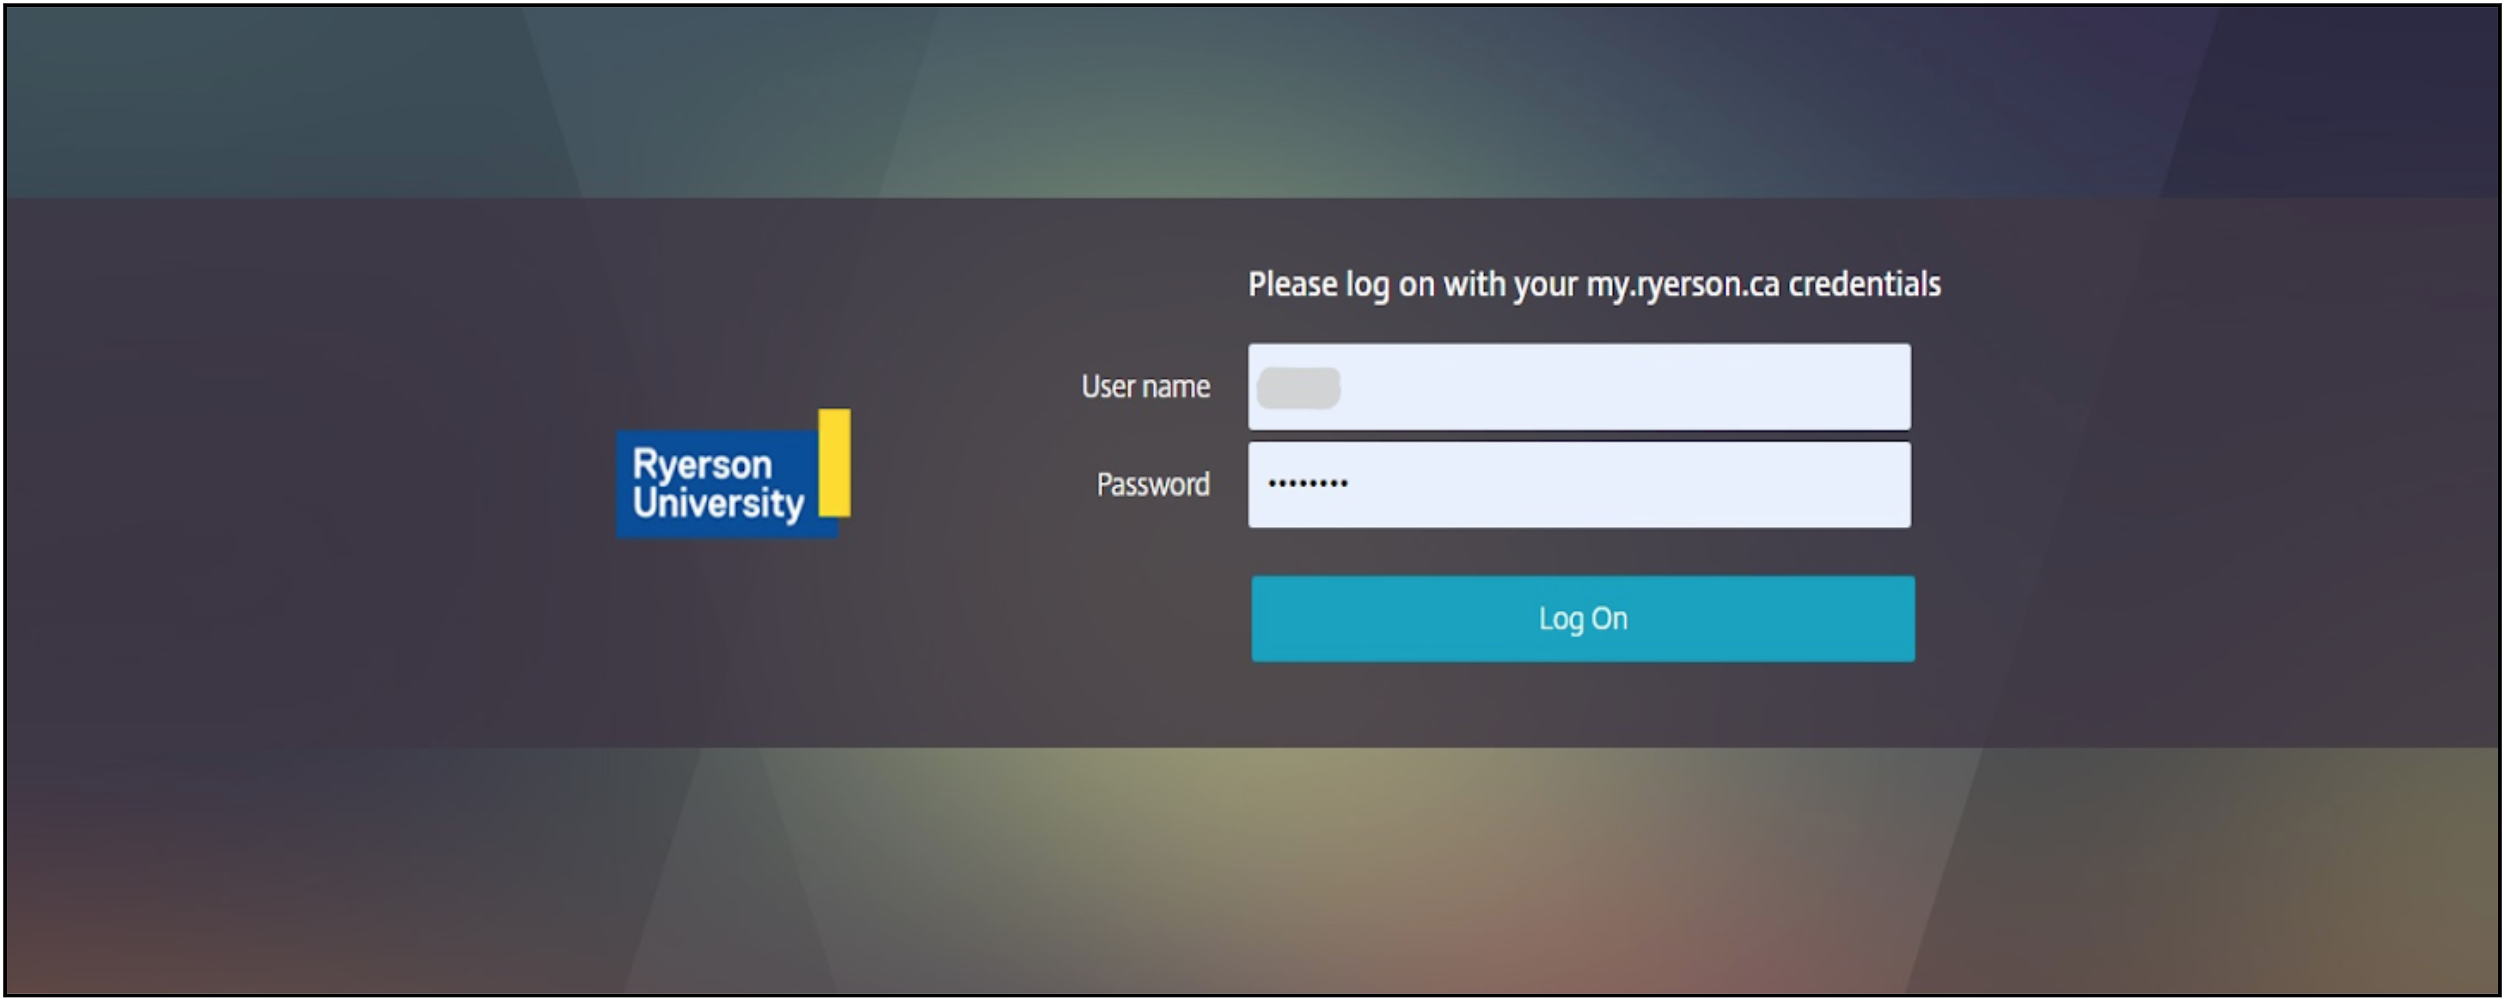
2. You will be prompted to log in to VApps using your my.torontomu.ca credentials. Please fill in your student username and password.
3. After you log in, you will land on the main page of VApps. In the top middle of the screen, there will be three tabs that indicate: [1] Favourites [2] Desktops [3] Apps. Select the Apps option to access NVivo 12 software.

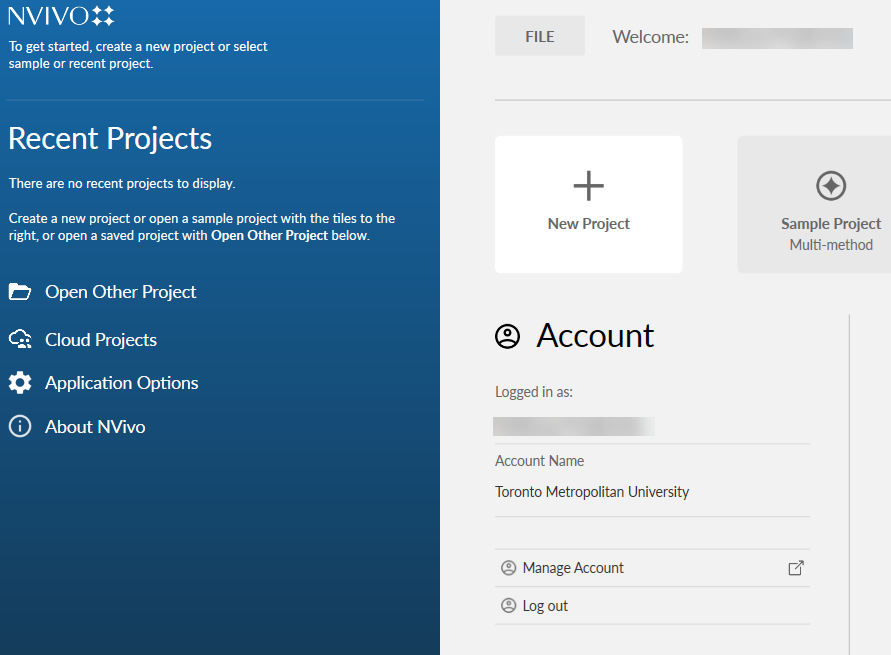
4. When redirected into a new window, you must fill in the initials field of the pop-up box. The username will be auto-populated. Select OK to continue.
5. NVivo is now ready to be used by the Toronto Metropolitan University (TMU) member.