Reconfiguring email clients to your TMU email address
Users using email clients like Microsoft Outlook, Mozilla Thunderbird or Apple Mail to access or manage university emails will need to create a new profile in their email client using their “@torontomu.ca” email address to begin sending emails through the client.
Instructions for creating a new profile in Microsoft Outlook, Mozilla Thunderbird and Apple Mail are listed below.
Sync a new Microsoft Outlook profile with your Google Workspace
Existing Microsoft Outlook users can sync their new “@torontomu.ca” email address with Google Workspace by following the instructions below. View instructions for downloading Microsoft Outlook and creating a profile.
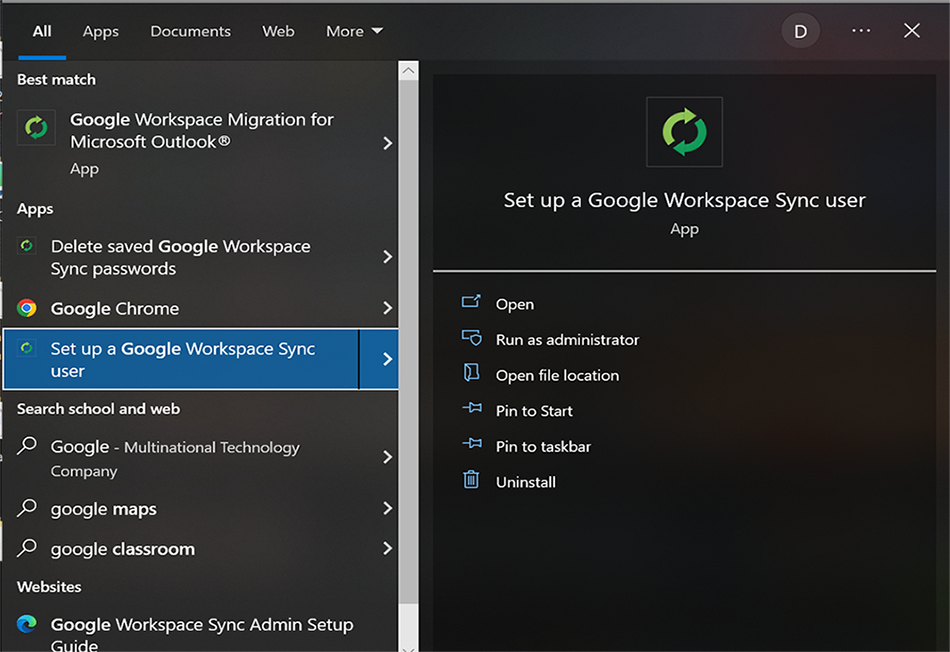
1. From your desktop, search for “set up a Google Workspace Sync user” and open the Google Workspace Sync for Microsoft Outlook app.
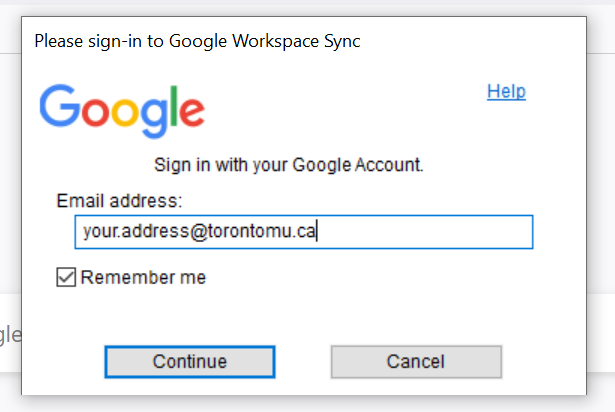
2. You will be prompted to sign into Google Workspace Sync with your “@torontomu.ca” address. Select Continue
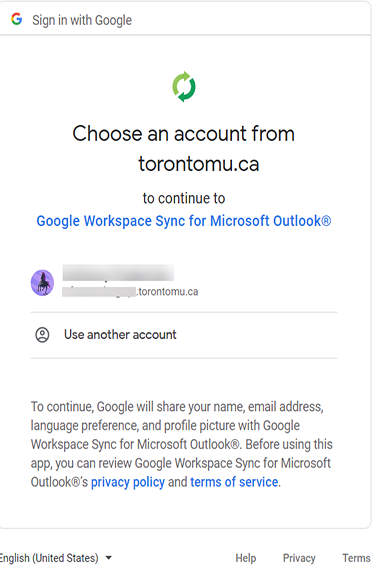
3. Select your new “@torontomu.ca” email address
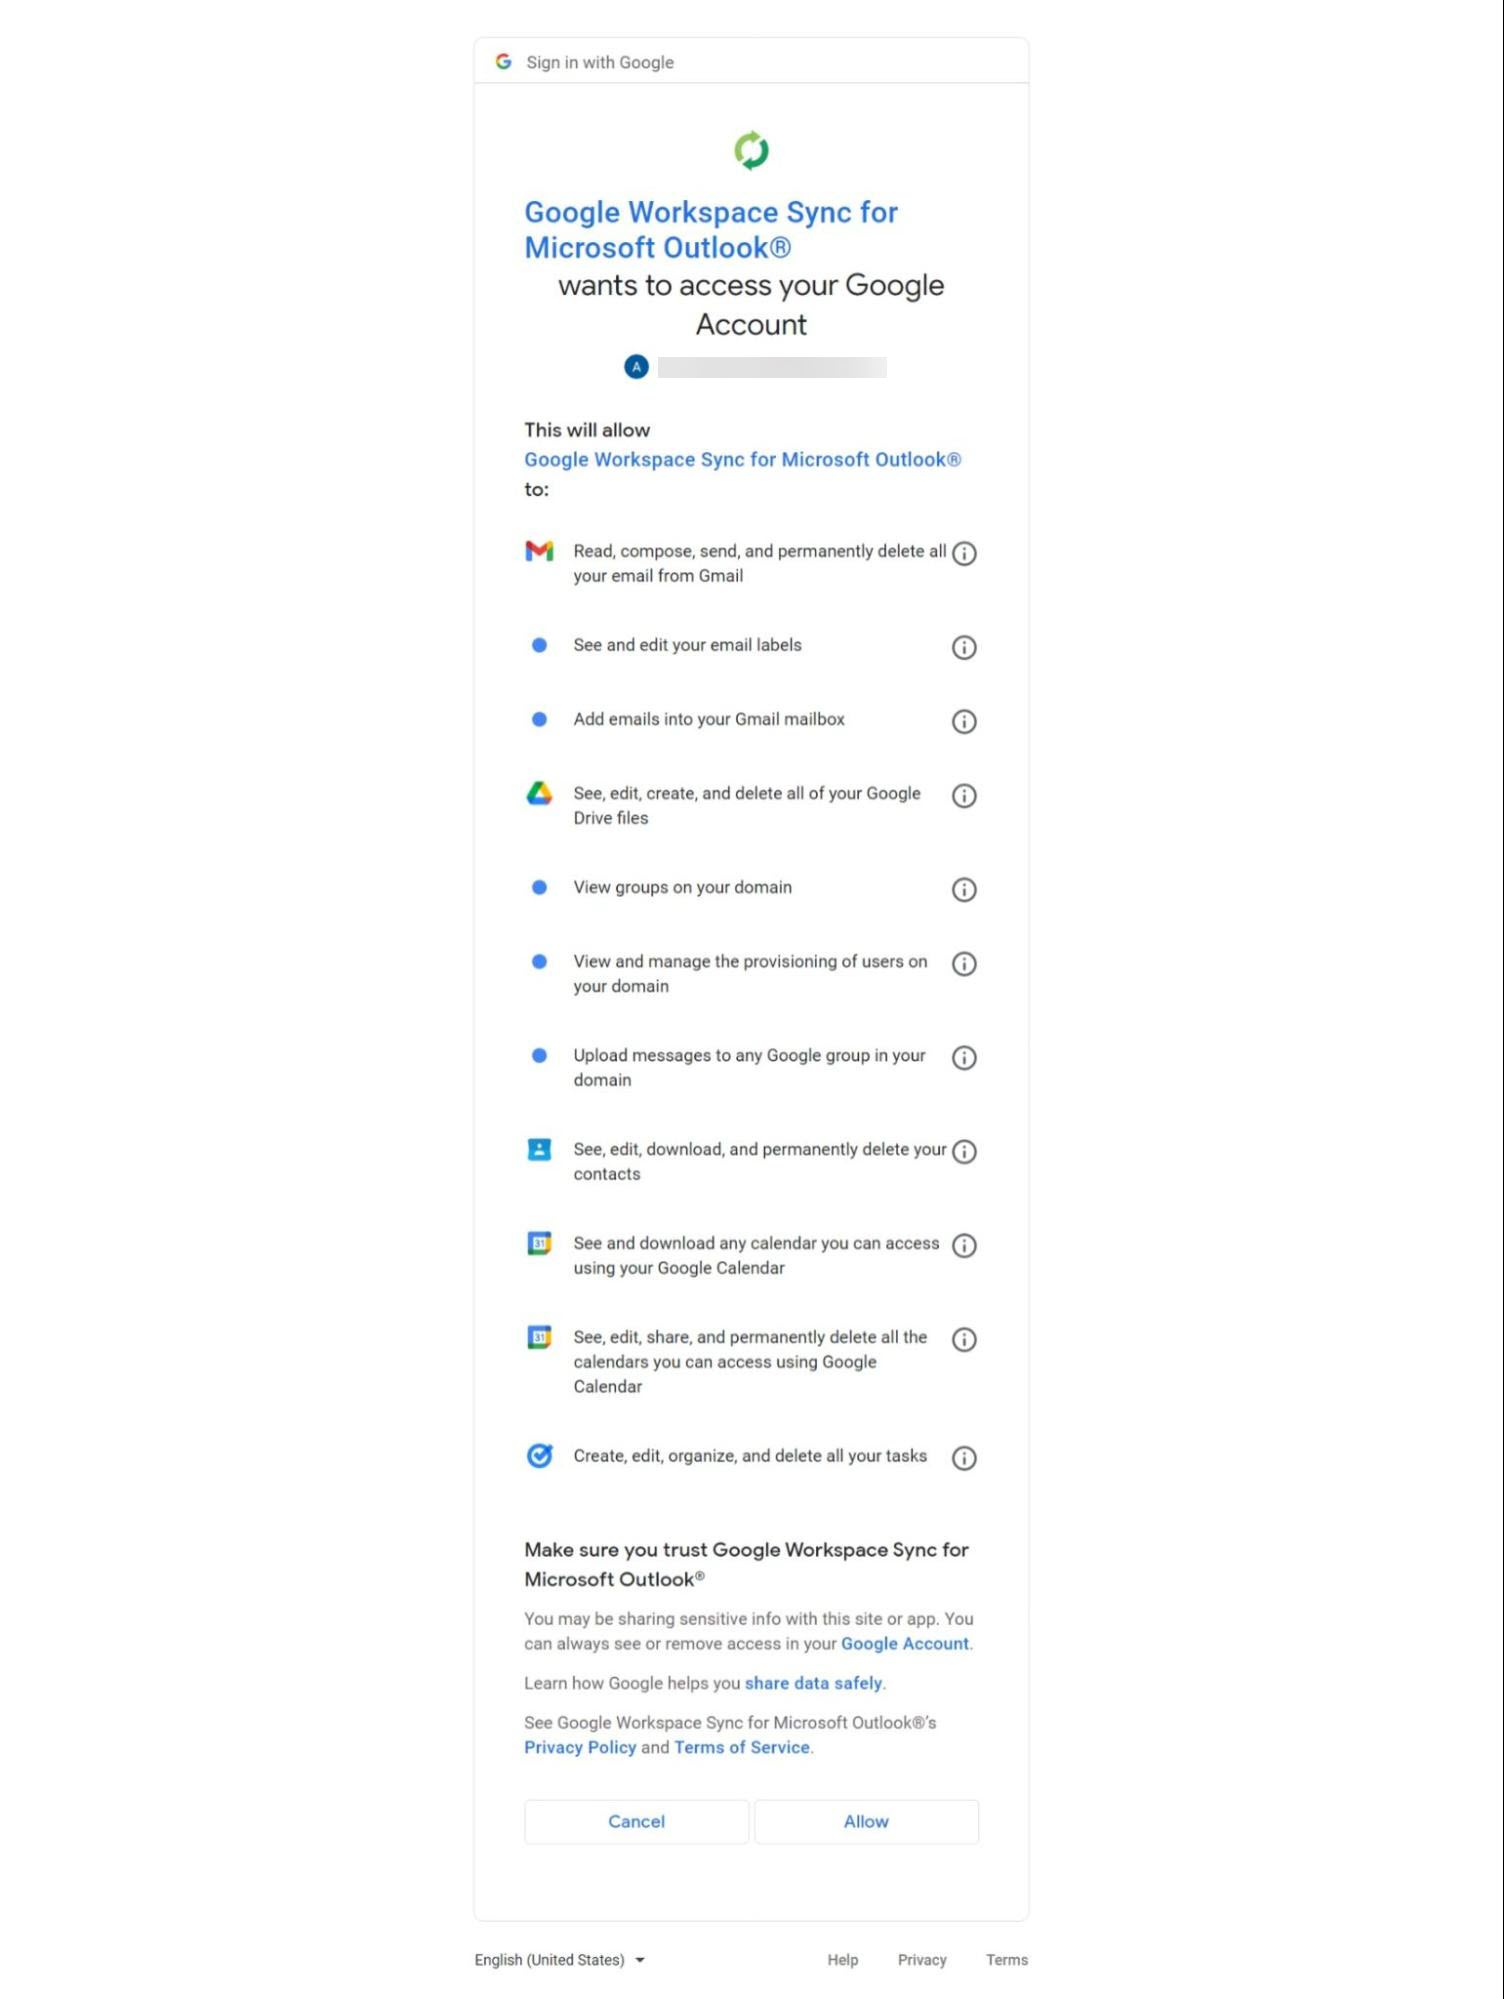
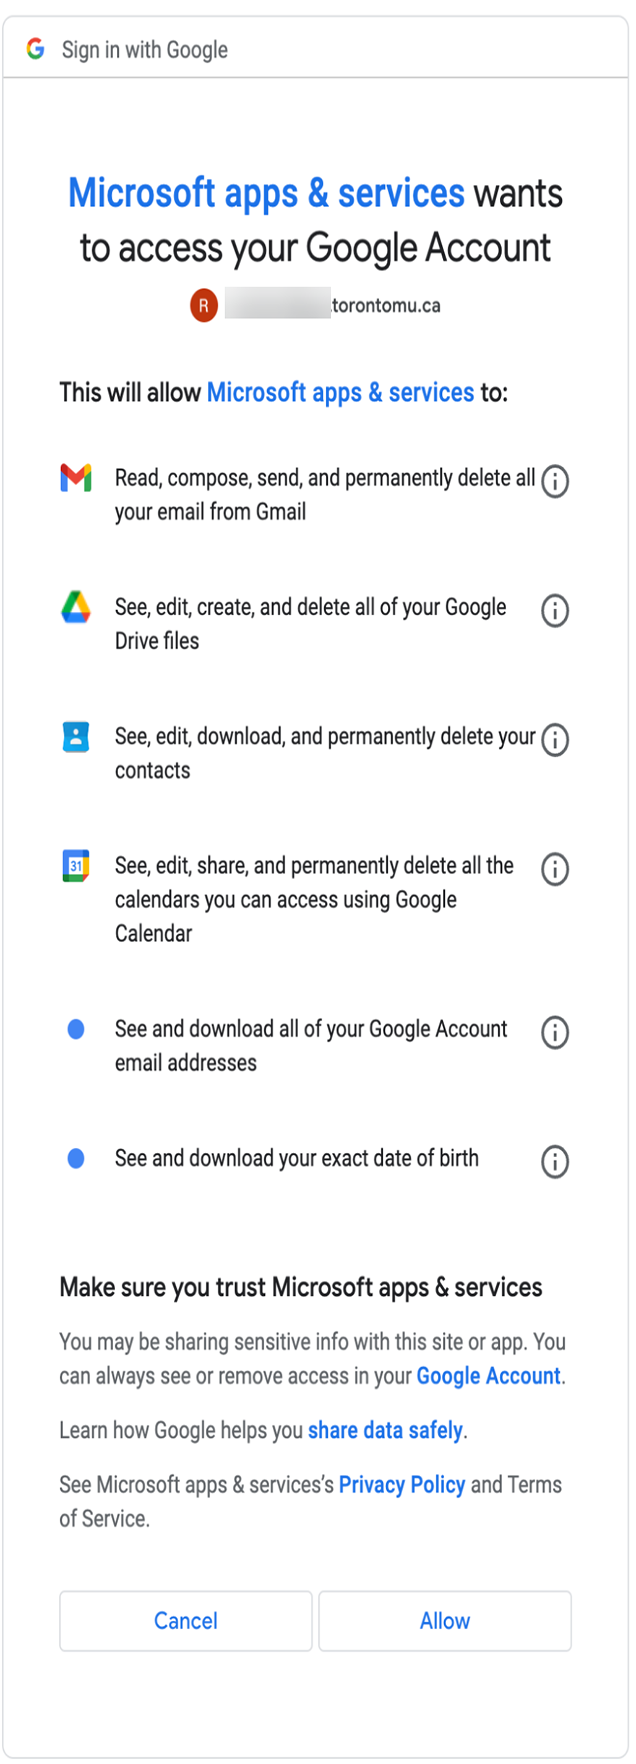
4. The app will request access to your Google Account. Select Allow
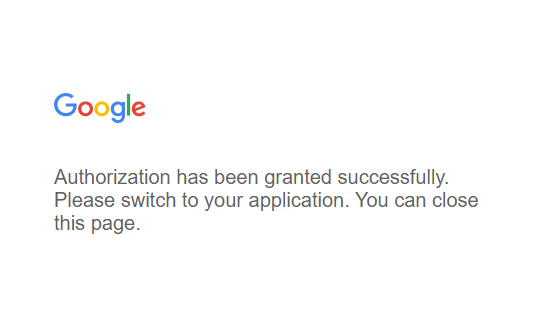
5. In your browser, a message will appear confirming that access to your Google account has been authorized. Close the browser window and continue with the application installation.
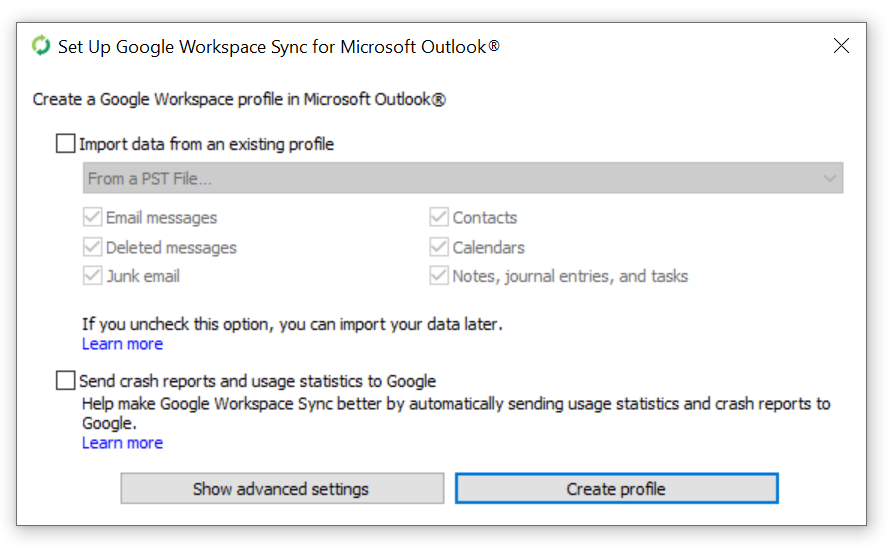
6. A new pop-up window will appear. Leave all boxes unchecked and select Create profile
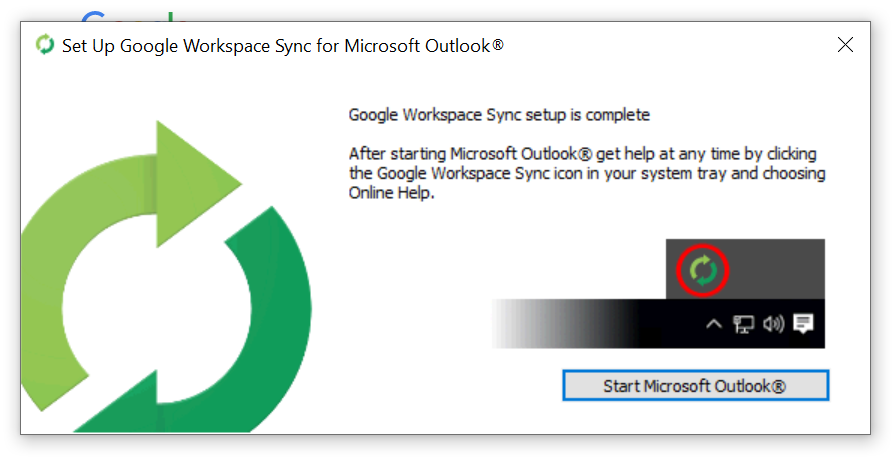
7. The app will confirm that Google Workspace Sync setup is complete. Select Start Microsoft Outlook
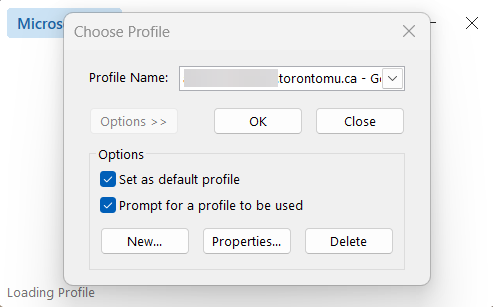
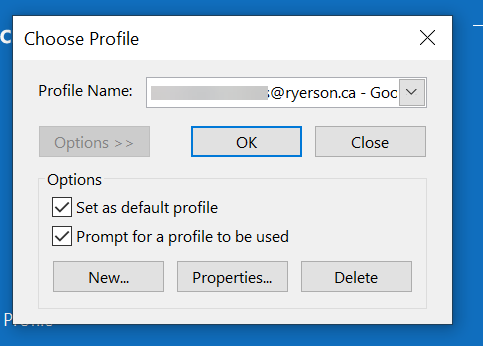
8. Once Outlook opens, you will be prompted to select a profile. To delete your original “@torontomu.ca” profile, select your old email address and select Options > >
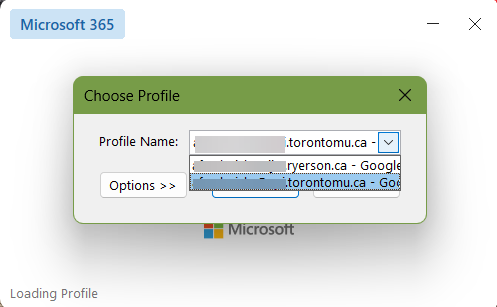
9. From the Choose Profile section, select your “@torontomu.ca” email address and select Delete
10. An Outlook warning will appear, confirming that removing your profile will delete your offline cached content. Select Yes and your original “@torontomu.ca” will be deleted.
a. If you require your offline cache content, make a backup of your files (external link)

11. To set your “@torontomu.ca” profile as your default or to turn off the Choose Profile prompt when opening Outlook, navigate to Choose Profile, select your “@torontomu.ca” account, check the Set as default profile box, uncheck Prompt for a profile to be used and select OK
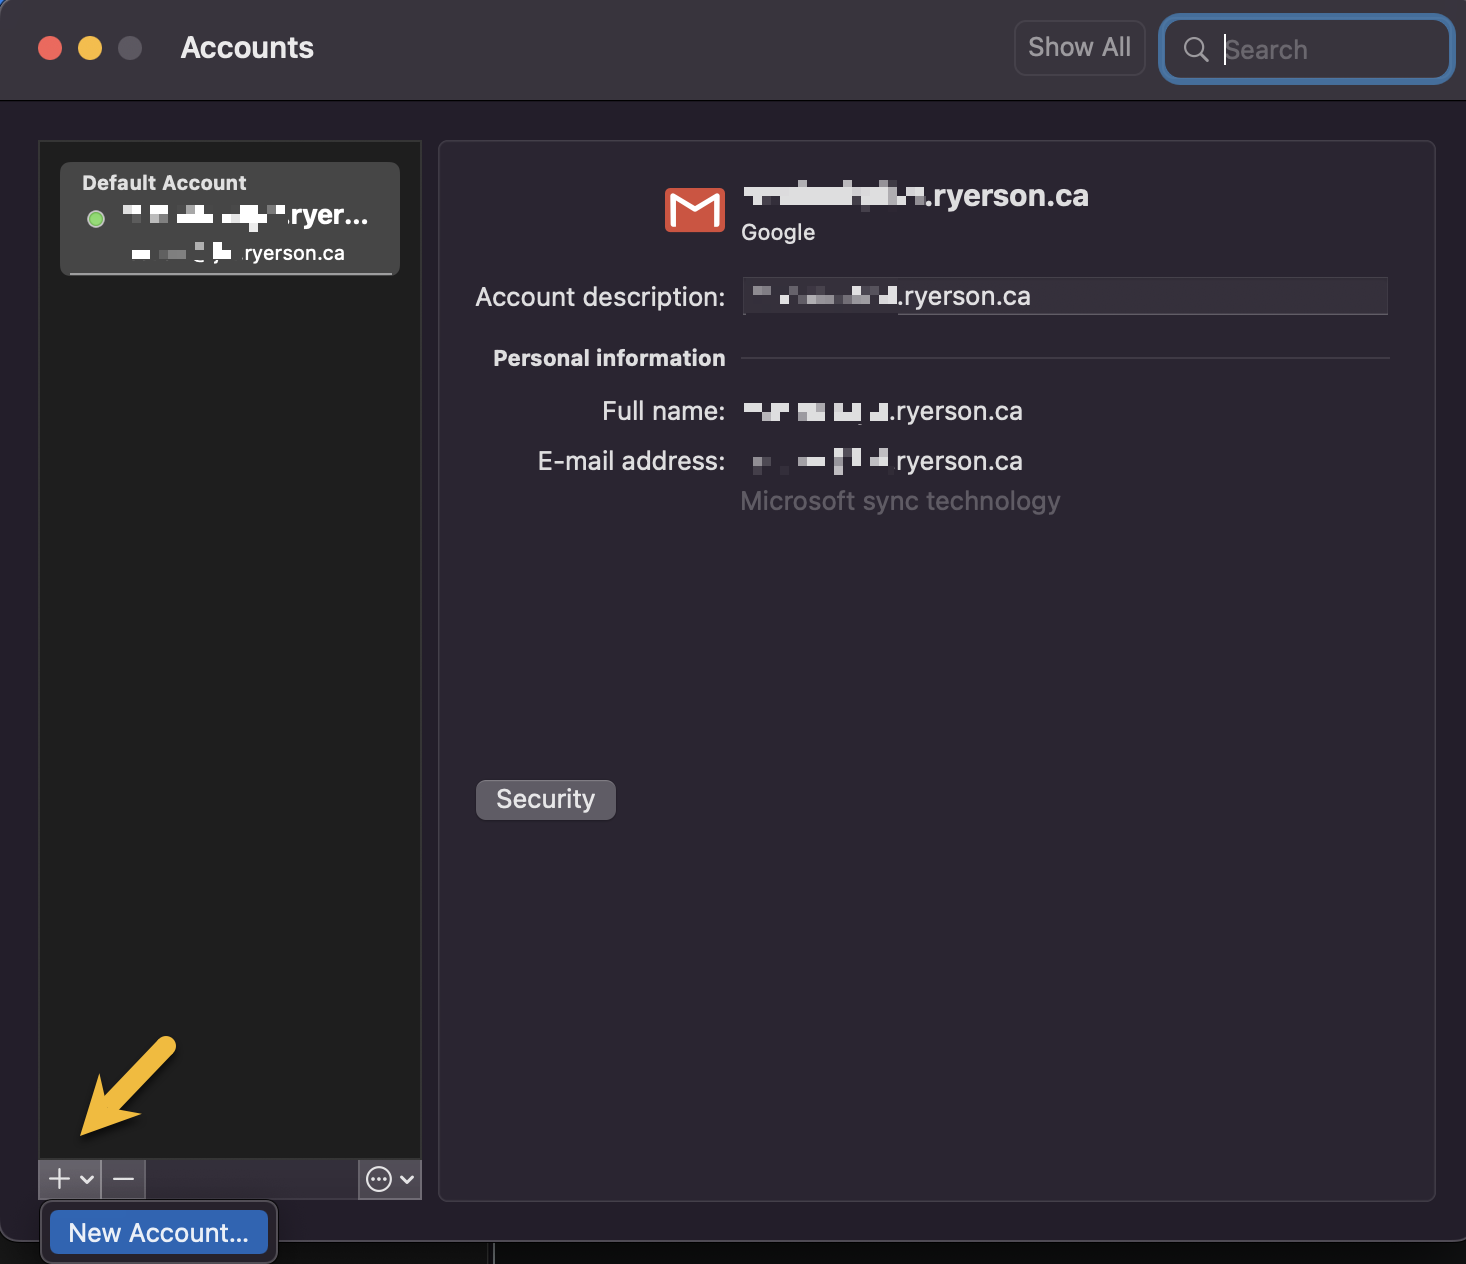
- In Outlook, select on the Tools menu and select Accounts
- From the Accounts window, select + (plus sign) at the bottom left of the window and select New Account
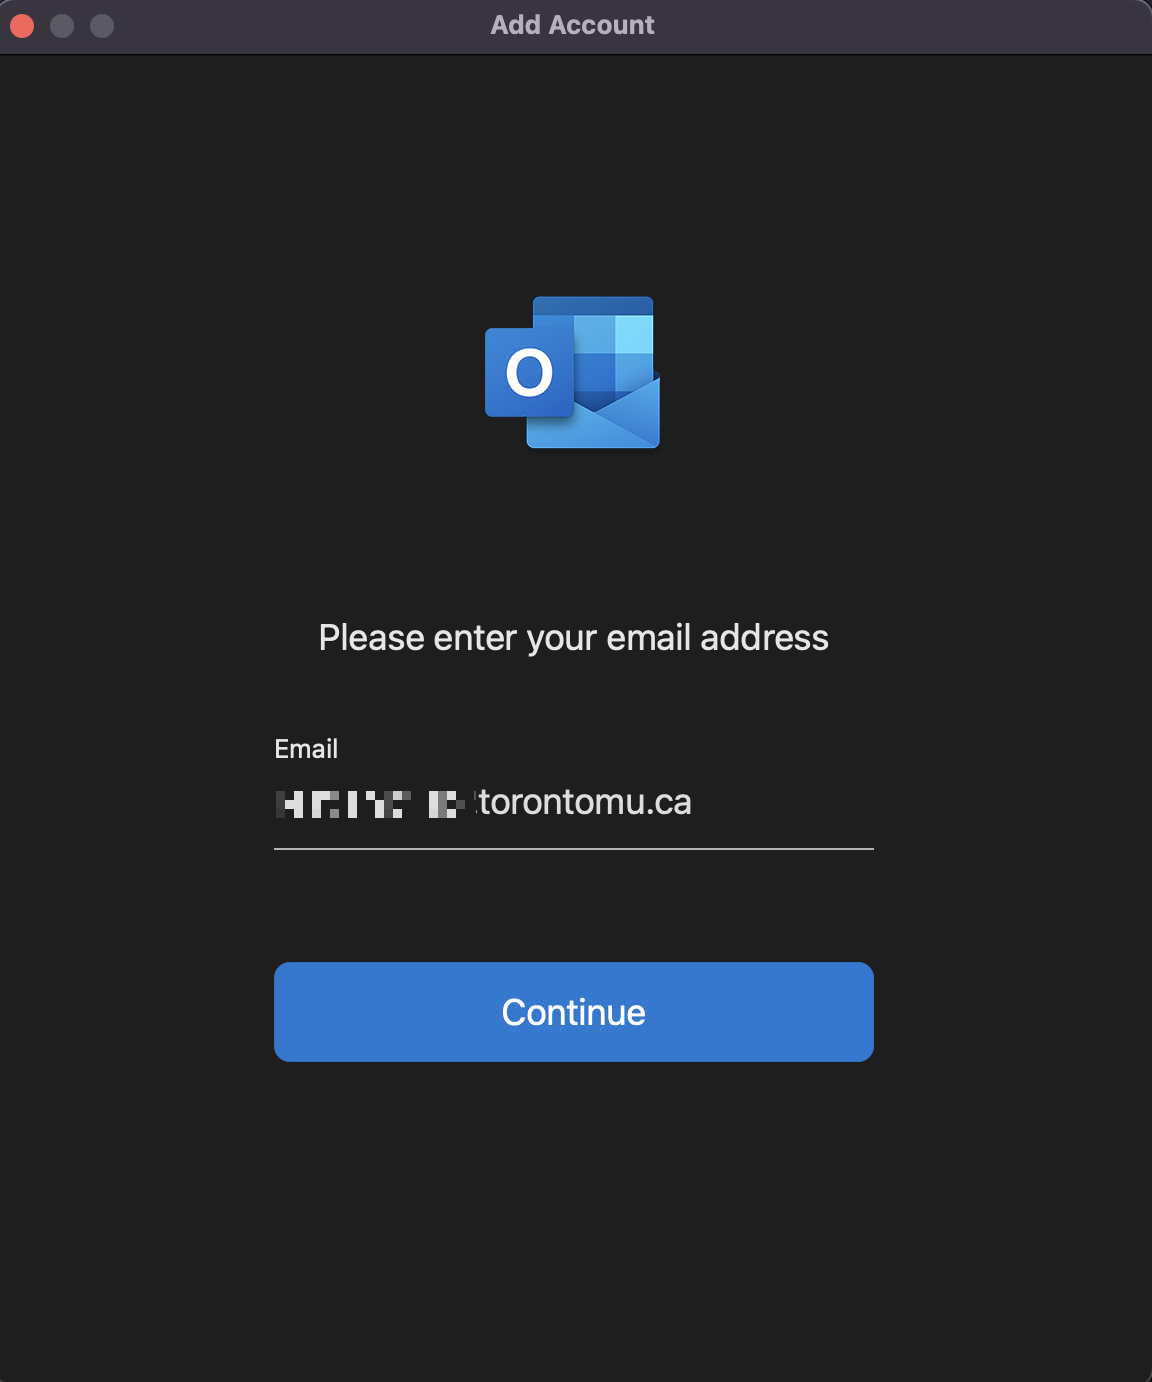
3. In the Add Account pop-up window, enter your new “@torontomu.ca” email address
4. You will be prompted to grant Outlook access to your Google account. Select Allow
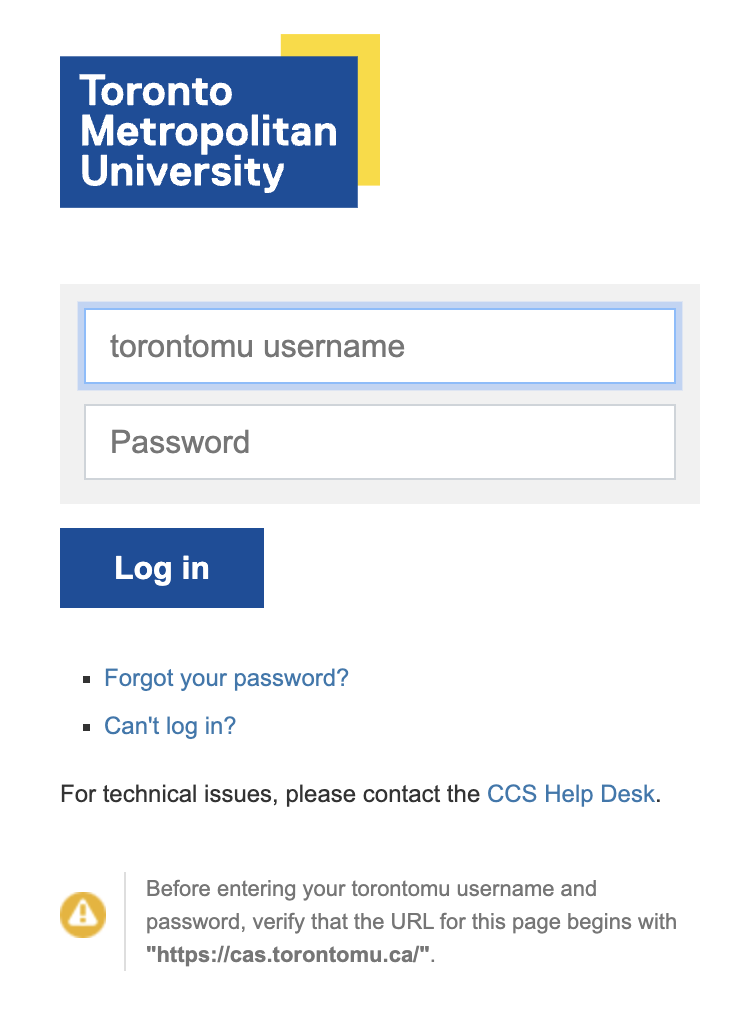
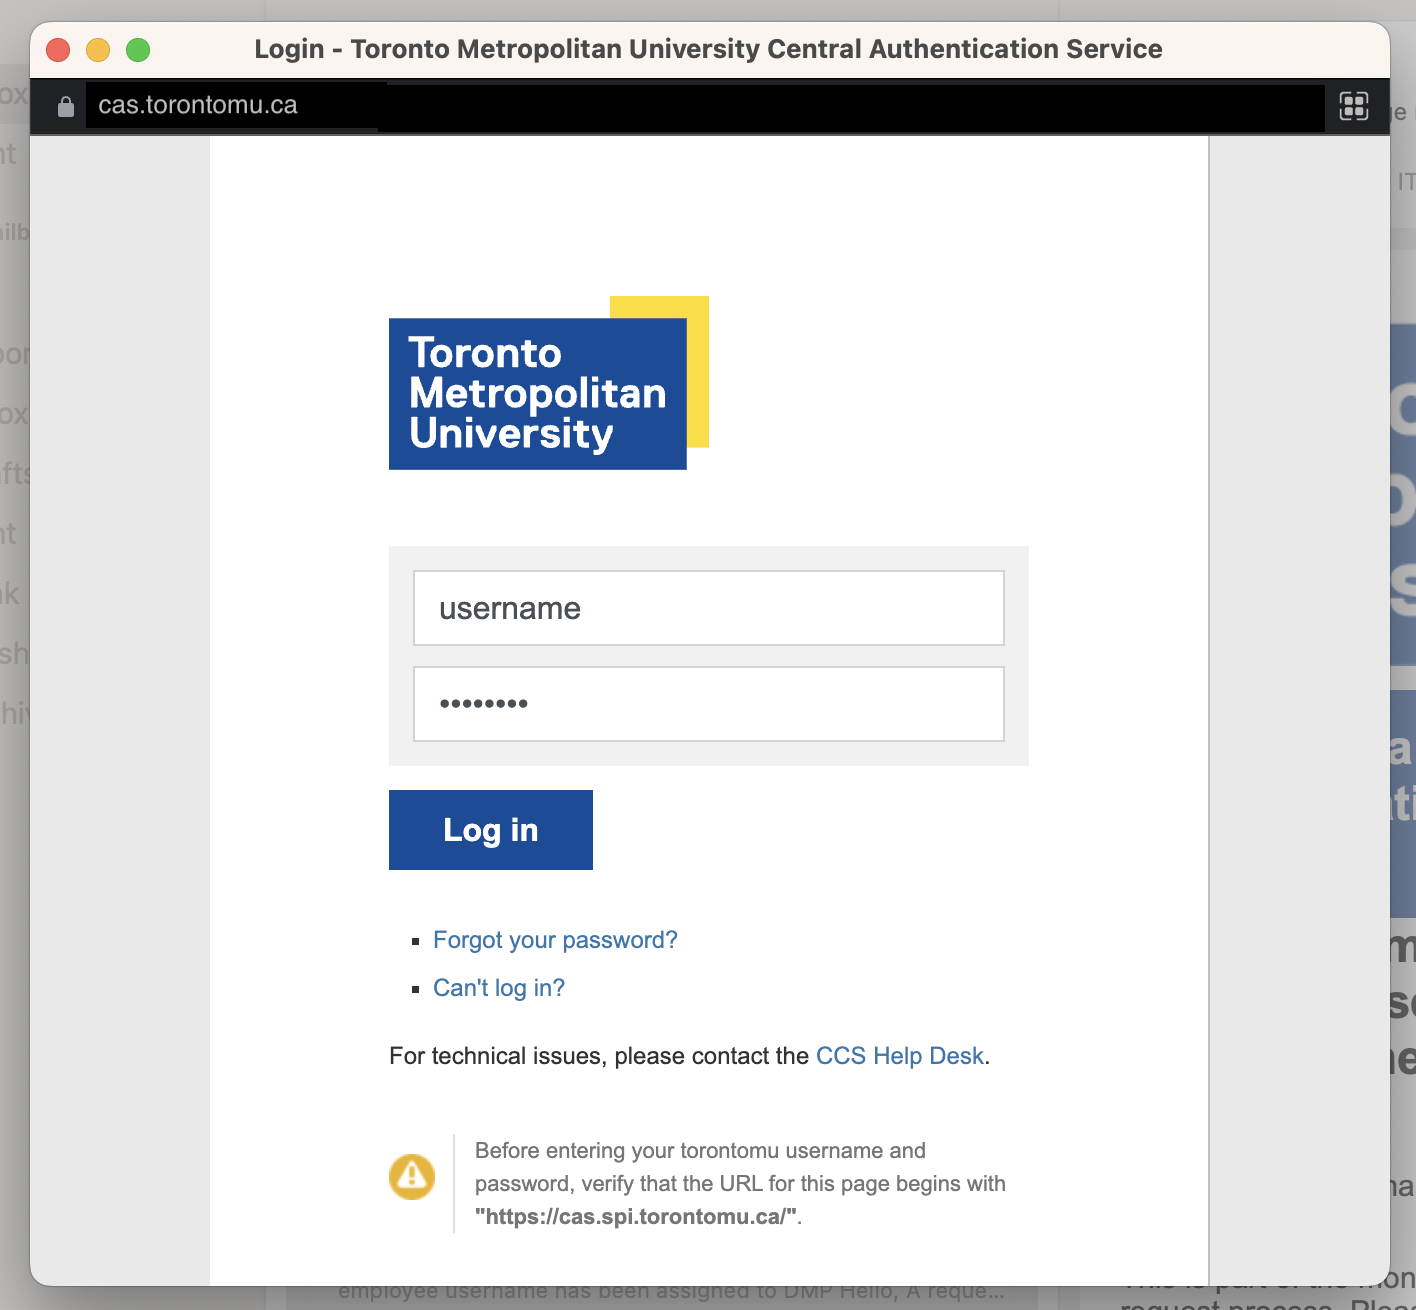
5. The TMU authentication login screen will appear. Log in using your torontomu username and password
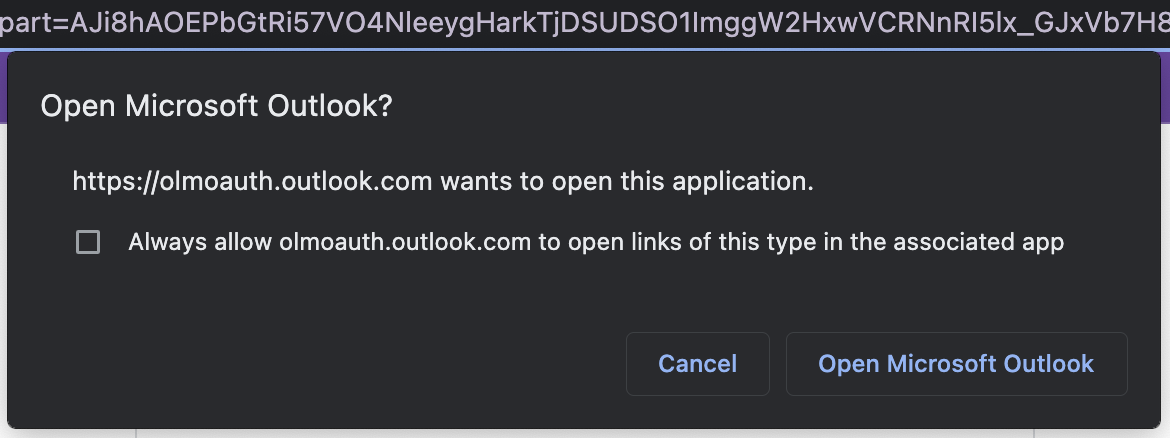
6. After logging in, you will be prompted to open Outlook
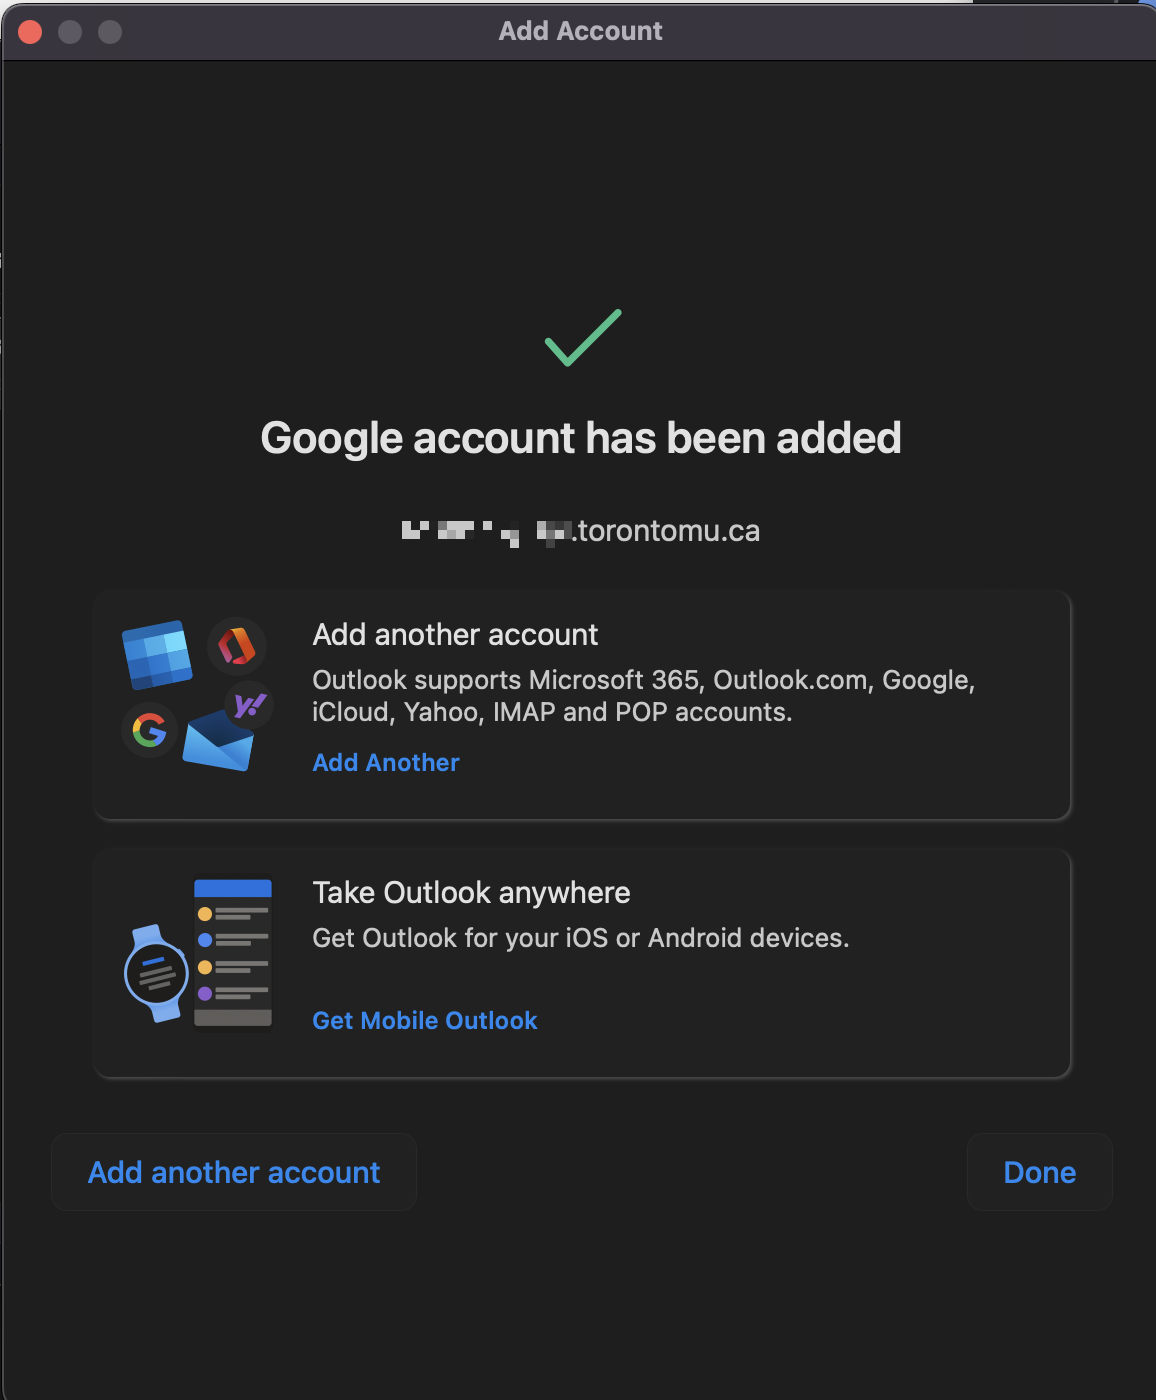
7. In Outlook, you will receive a confirmation message that your new account has been added
8. You will now have access to both your “@torontomu.ca” and “@torontomu.ca” inboxes, which will both contain all of your emails. We recommend only using your “@torontomu.ca” email address to send emails moving forward
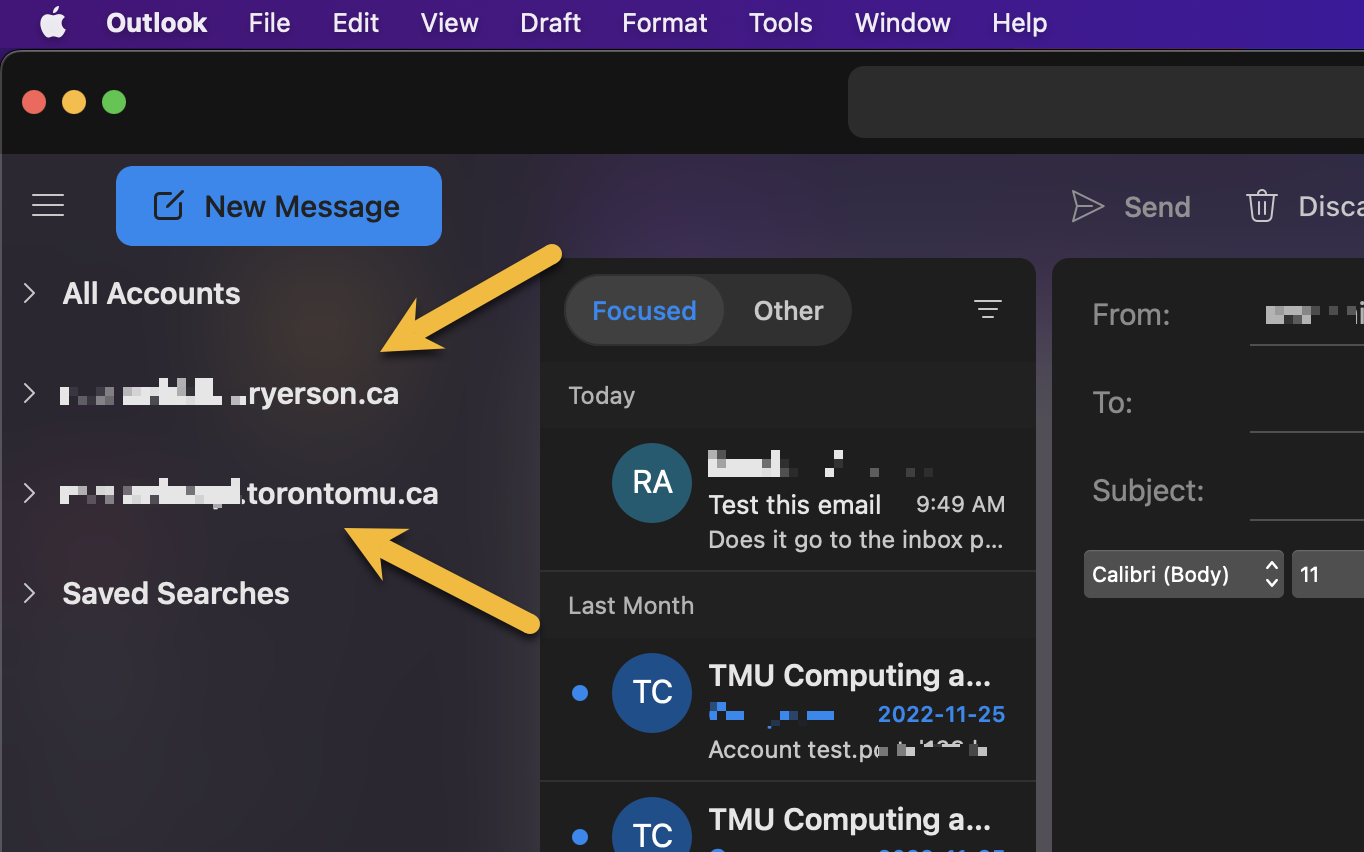
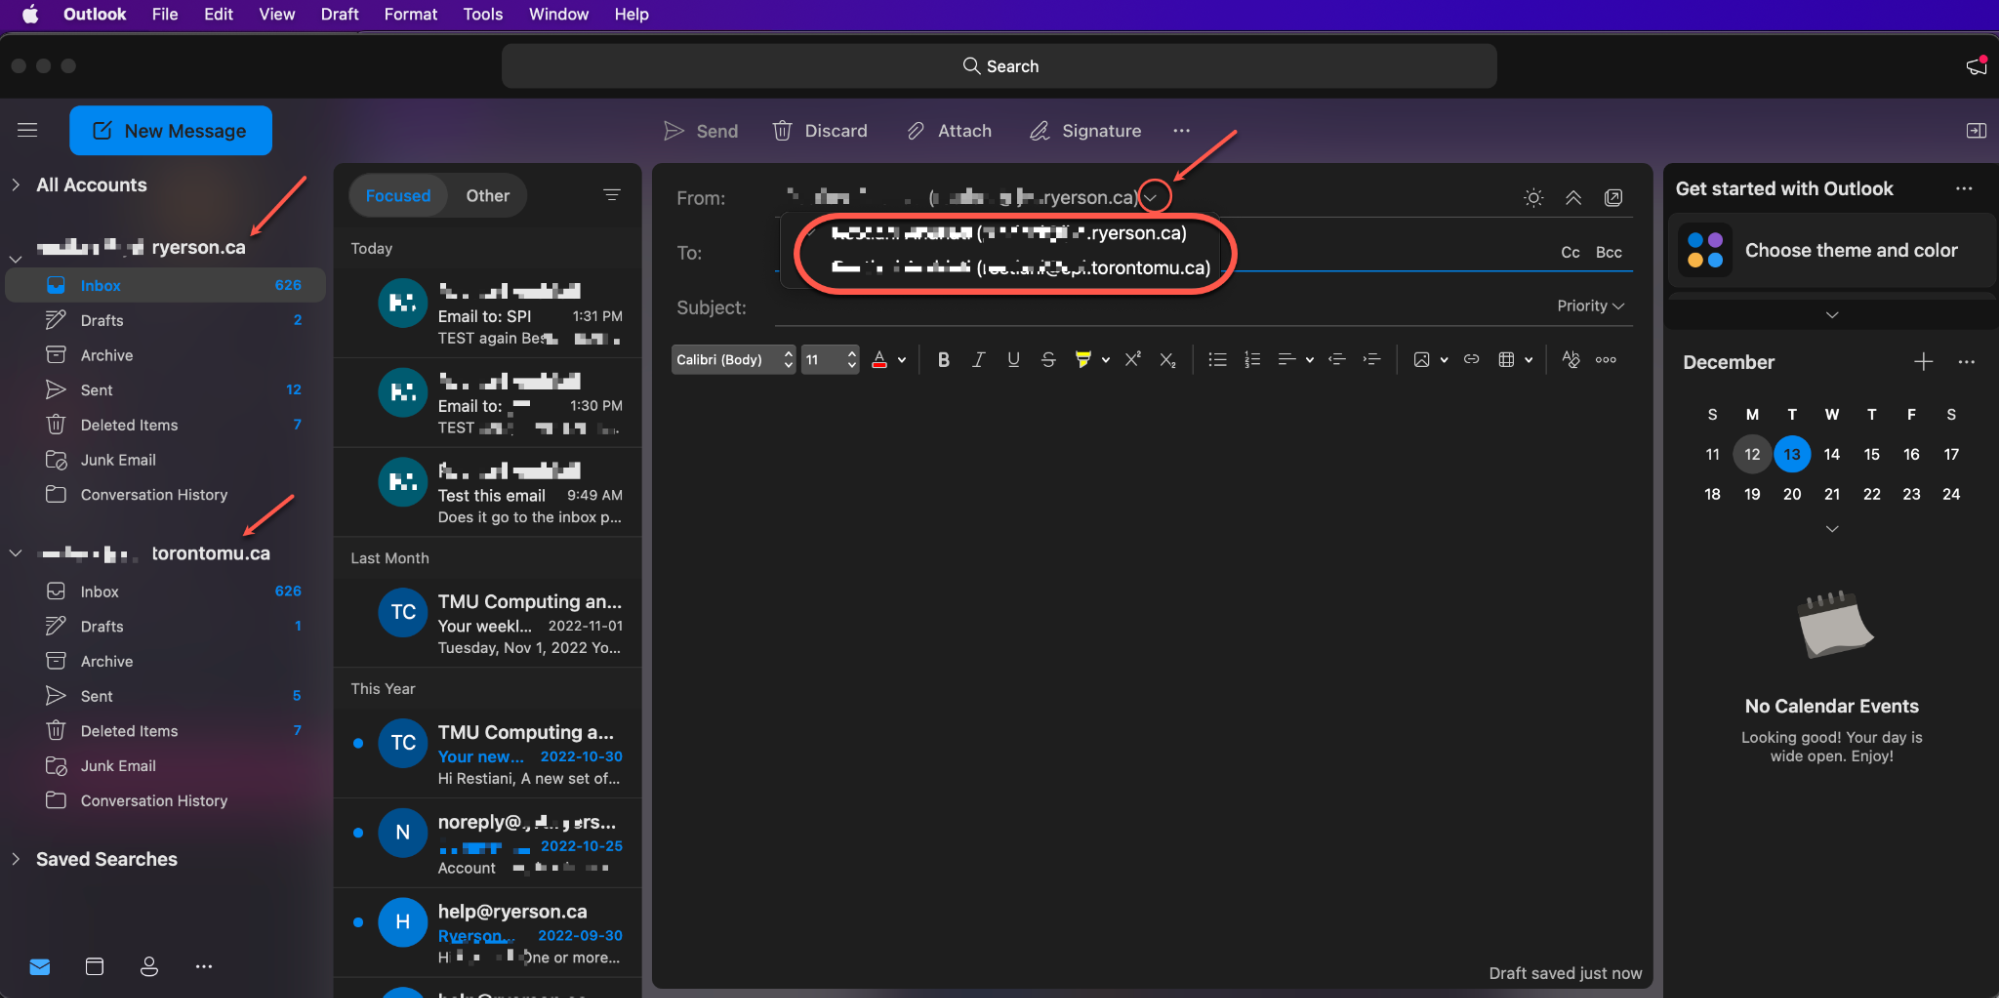
If you’ve used your original “@torontomu.ca” email address to subscribe to non-TMU or external mailing lists, you can continue to send emails using your “@torontomu.ca” email address if required. To do so, select the down arrow in the From field to open a dropdown menu with both your “@torontomu.ca” and “@torontomu.ca” email addresses as available options.
Create a new profile in Apple Mail
1. In Apple Mail, select Mail from the top navigation bar and select Accounts
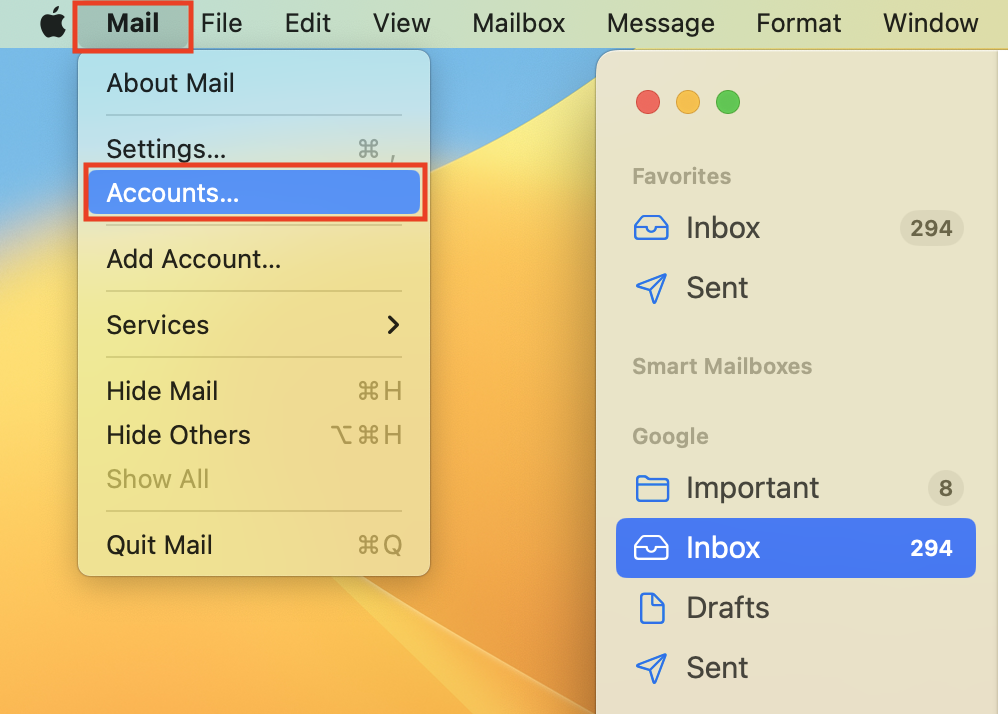
2. From the Internet Accounts tab, select Delete Account
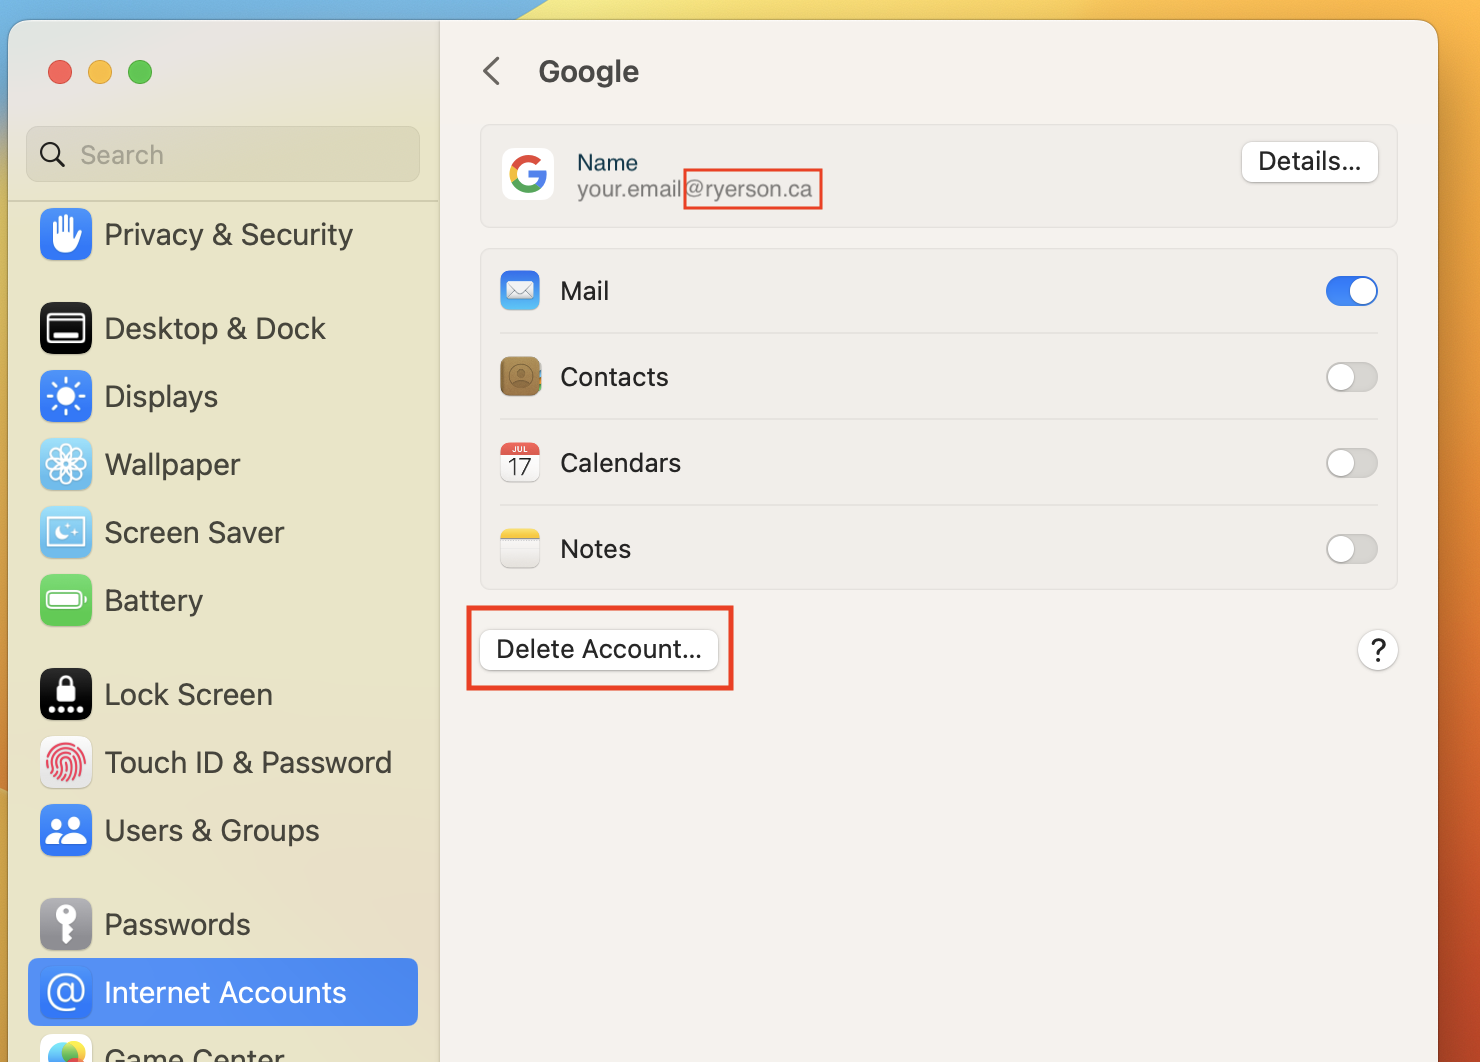
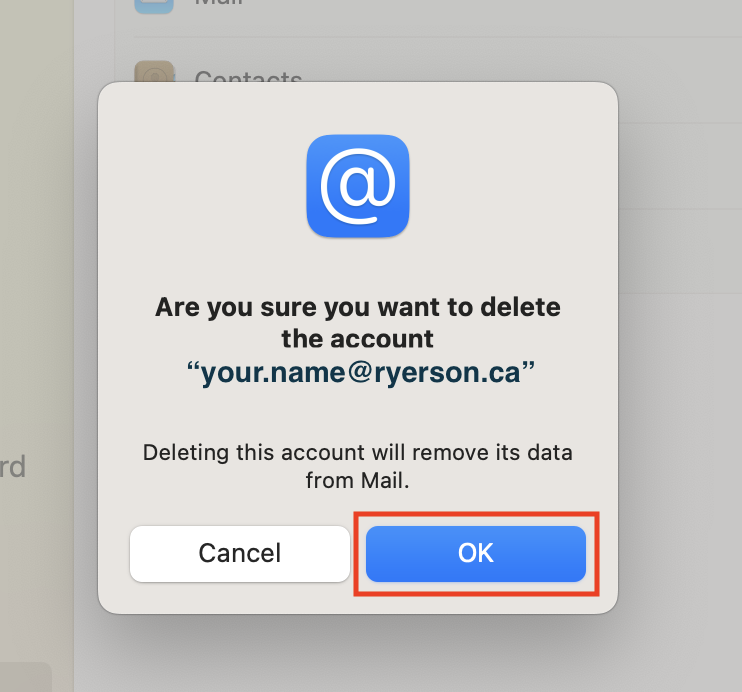
3. A pop-up will appear asking you to confirm that you would like to delete your “@torontomu.ca” account. Select OK
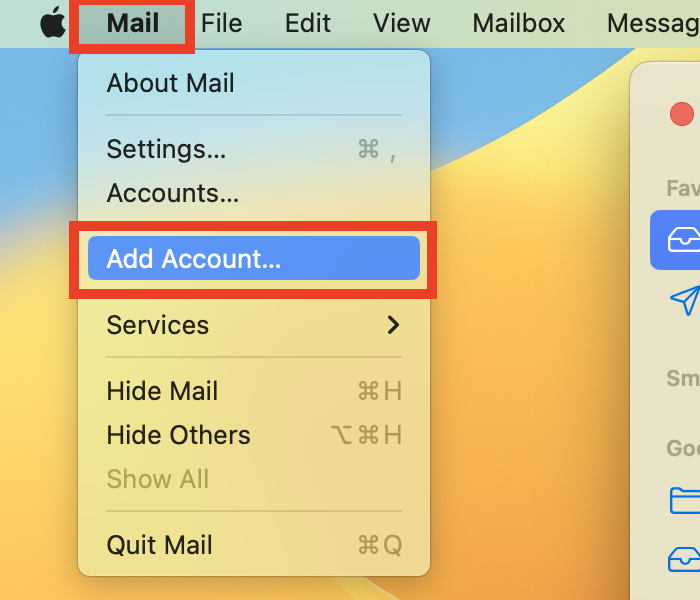
4. Once the pop-up closes, select Mail from the top navigation bar and select Add Account
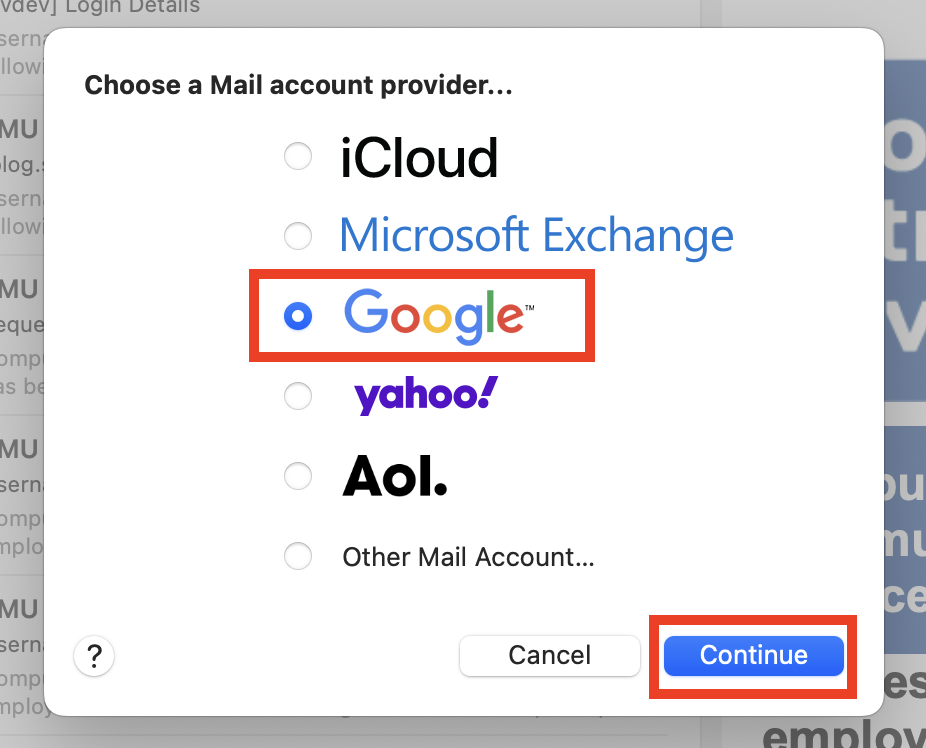
5. Select Google as your mail account provider and select Continue
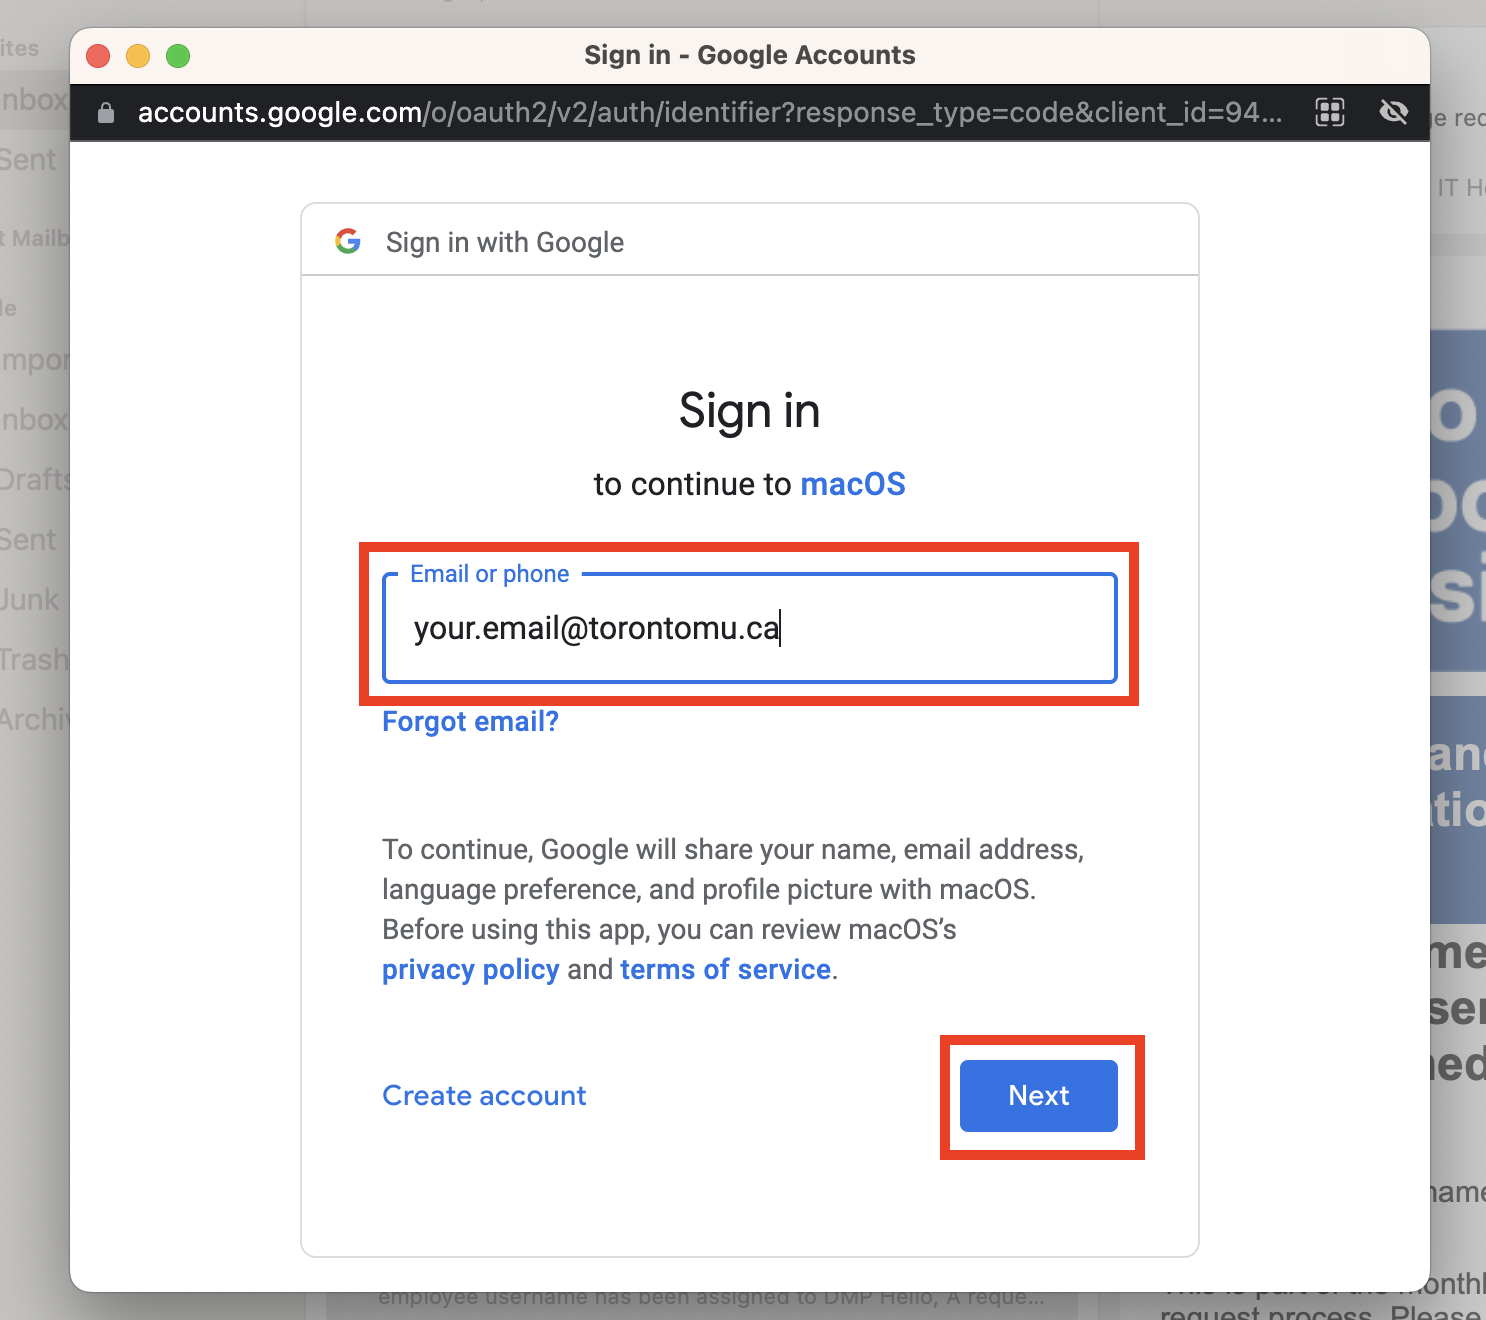
6. A Google pop-up window will appear prompting you to enter your email address. Enter your “@torontomu.ca” address and select Next
7. The TMU authentication login screen will appear. Log in using your TMU username and password
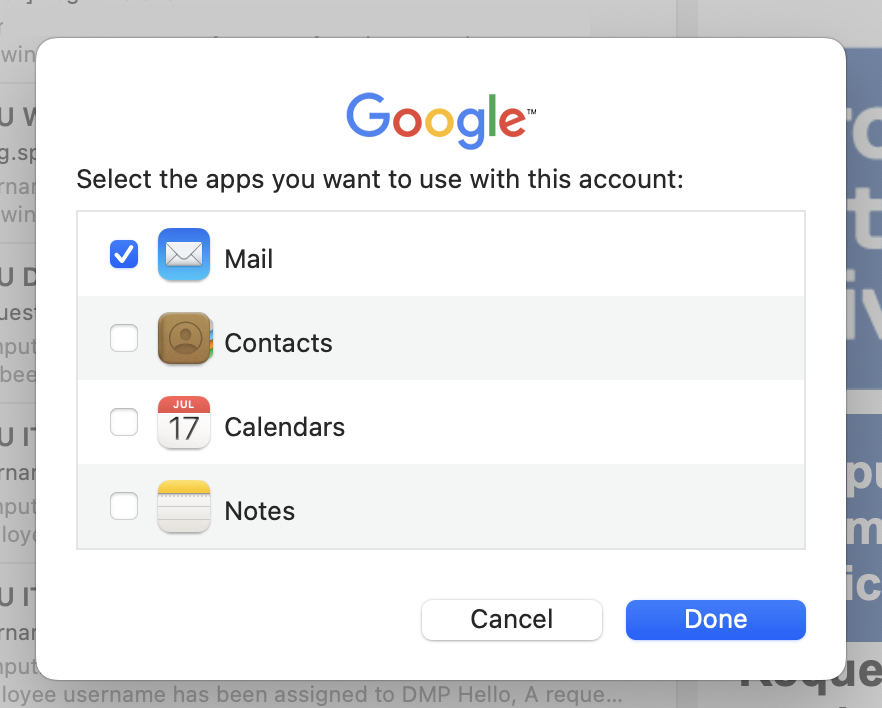
8. A pop-up window will appear prompting you to select apps you want to use with your “@torontomu.ca” account. Select Mail and select Done
Create a new profile in Mozilla Thunderbird
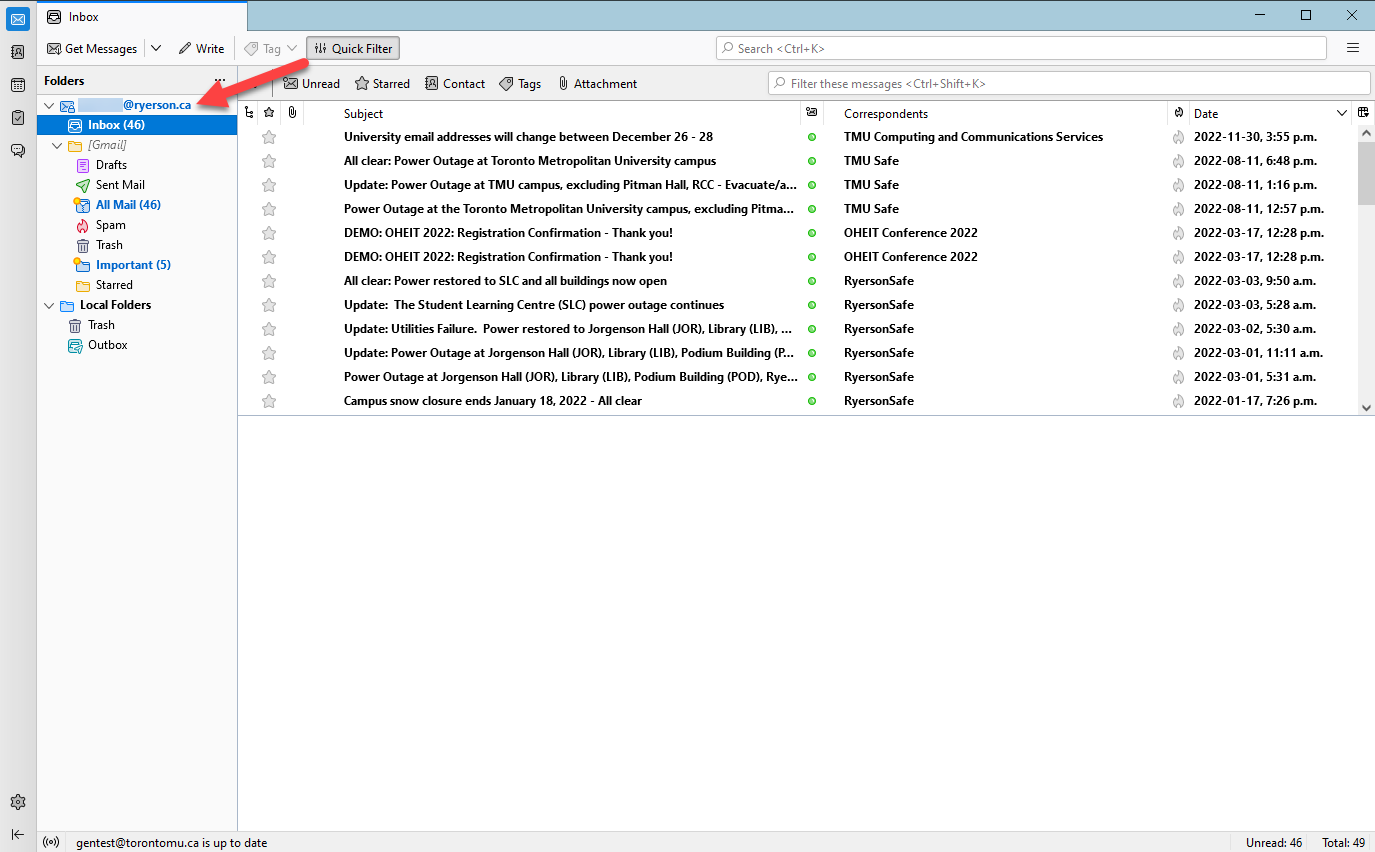
1. Open Thunderbird, right click on your “@torontomu.ca” email address from the left hand navigation bar and select Settings
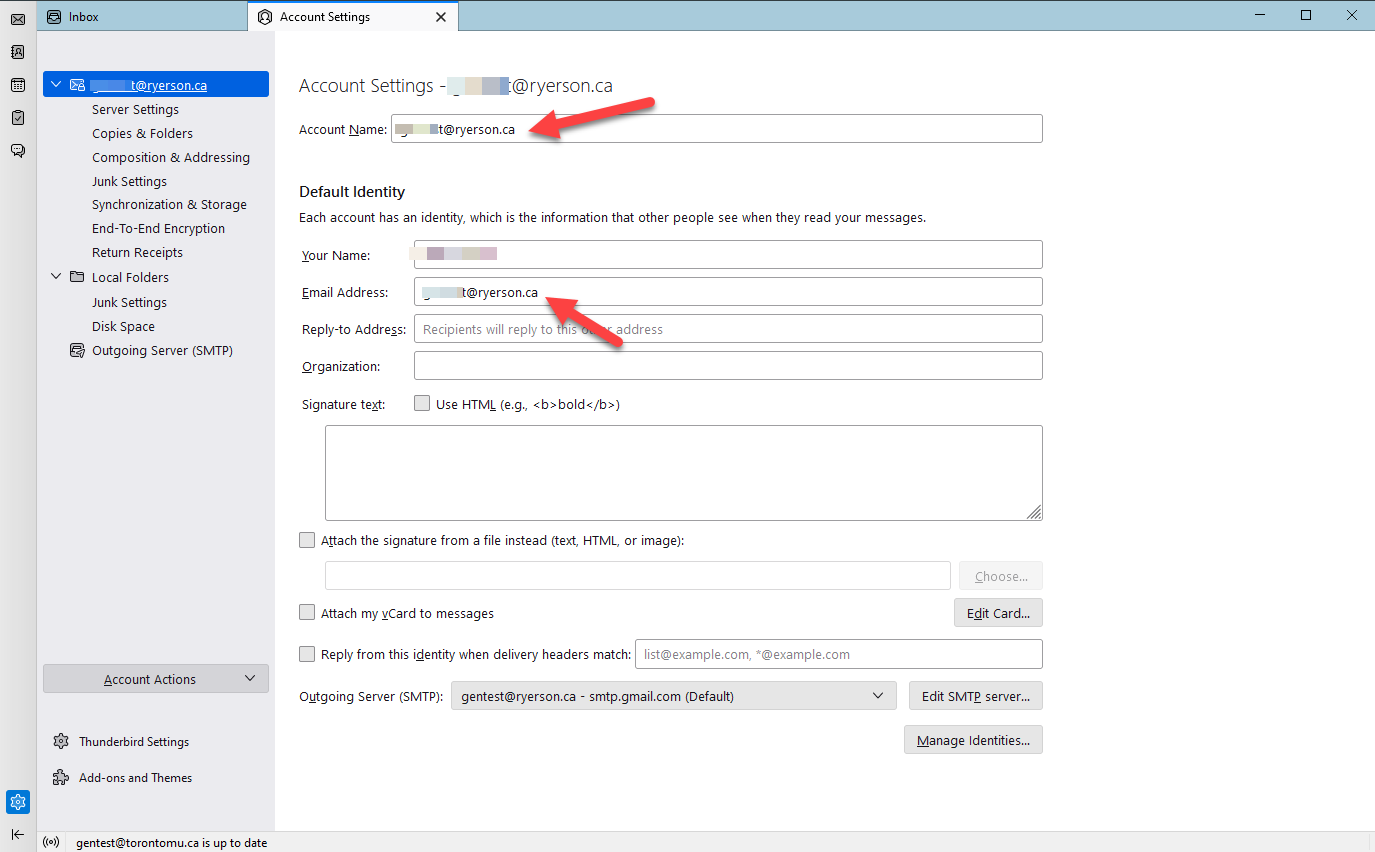
2. From the main Account Settings tab, change the Account Name and Email Address fields to your new “@torontomu.ca” email address
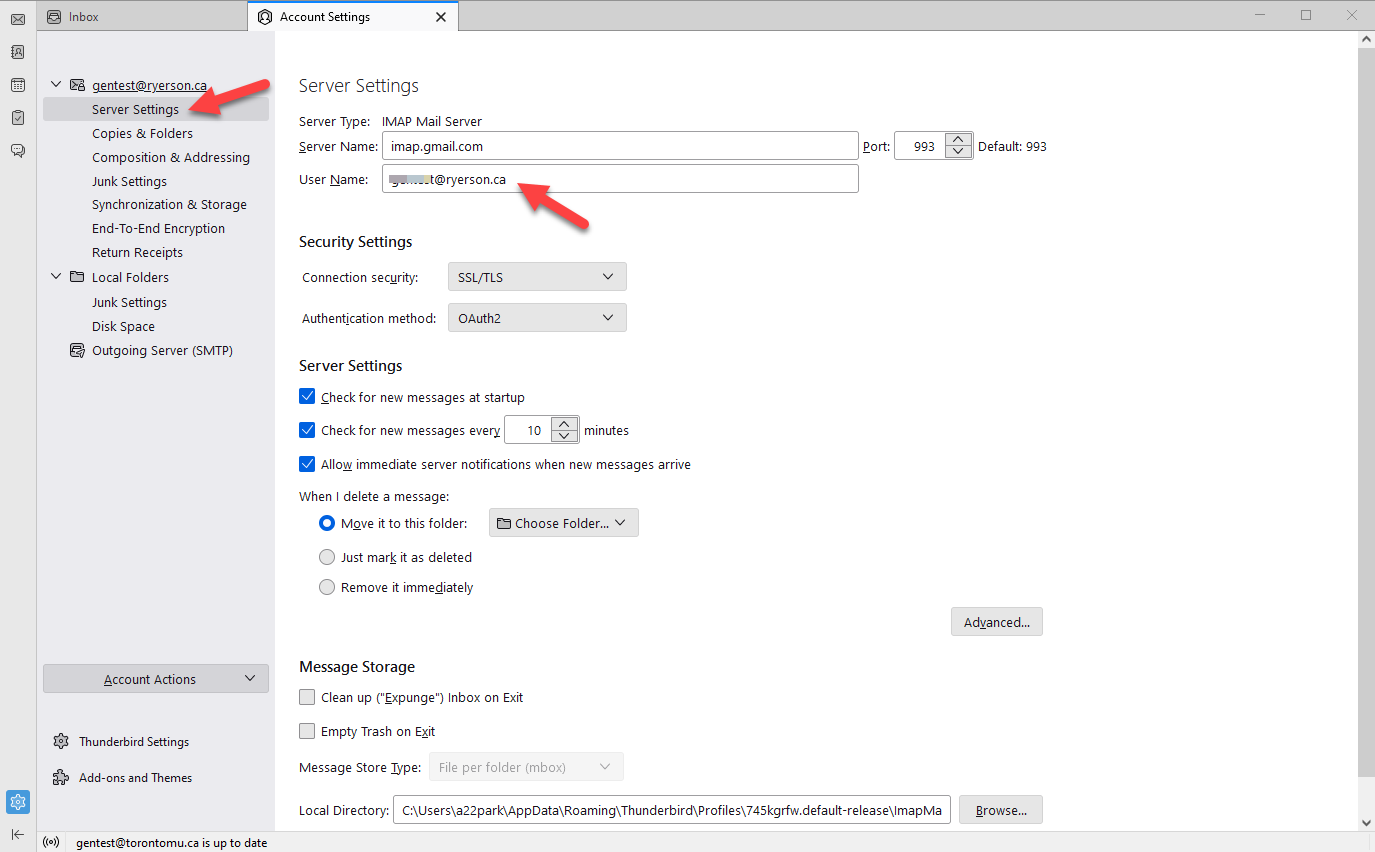
3. Select Server Settings from the left hand navigation bar and change the User Name field to your new “@torontomu.ca” email address
4. Close the Account Settings tab and your account name, email address and username will automatically be updated
I’m having trouble accessing my email through my email client after the change
If you’re having difficulty setting up a new profile or reconfiguring your account in your email client, you can continue to access your email via the my.torontomu portal by following the steps below:
- Log into the my.torontomu.ca portal
- Select the Apps tab from the top navigation bar
- Select Gmail to access your inbox, including all emails you’ve received both before and after the change
