Accessing CFAPS Folders

Off-campus access
If your faculty or department utilizes Central File and Print Services (CFAPS) to access the S shared drive, you can access these same folders securely off-campus using Toronto Metropolitan University’s virtual private network (VPN), TMU-VPN. For help applying for a VPN profile, please visit the TMU-VPN page.
Manually Connecting (Mapping) to a CFAPS Shared Folder
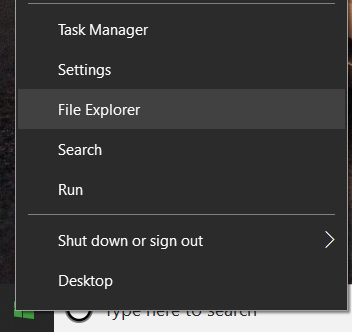
1. On your Windows computer, open the This PC folder. This can be done by clicking the this PC shortcut on your Desktop, or by right-clicking the Start button, opening File Explorer and navigating to This PC.
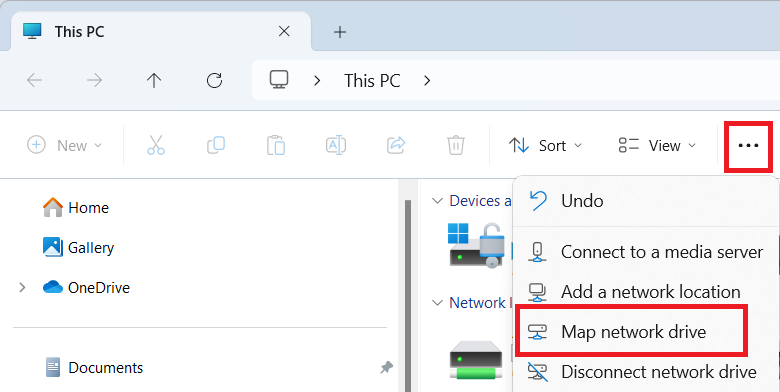
2. Select the three horizontal dots menu option and select Map Network Drive.
3. A Map Network Drive window will appear. Here, you can select a drive to map to the shared drive (the drop-down menu shows all available drives you can select from).

4. Within the Folder field, type in the path and folder name, for example:
\\ruad.ryerson.ca\ADMN_Shared$\
Next, ensure the Reconnect at logon checkbox is selected, then select Finish.

5. You can now find the newly mapped folder by once again navigating to My Computer. The folder will appear in the Network Drives section.
